

Crafting Corner: 6 Ways To Make DIY Boot Shapers
 Crafting Corner: 6 Ways To Make DIY Boot Shapers www.walkjogrun.net
 Fall is just around the corner, folks. You know what that means! Pumpkins, bats, ghosts, and ghouls galore! All Hallows’ Eve is a turning point for the weather and the seasons. Winter is just around the corner, and the cold will soon begin to truly take hold. It is this crucial point between the fading heat of summer and the bitter temperatures to come when people decide to put away their sun-friendly fashion. It’s time to step into something more in the spirit of the season! There is nothing more romantic than walking hand-in-hand in a chilly park with the foliage all around you and a cute little coat to pull your outfit together.
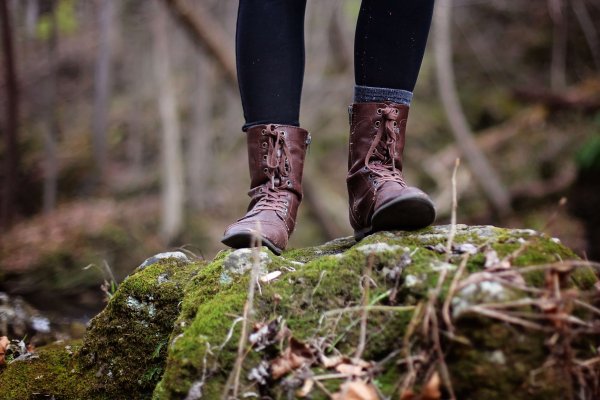
Oops? Did I say pull your outfit together? As if! We all know the real star of the show is, as always, the shoe you choose. Of course, it’s always important to make sure your entire outfit is on point… but there is no better way to do that than to start with a great pair of boots. They are the calling card of autumnal fashion and have been a fan favorite for the past decade at least. Fall is for long coats, warm leggings, and riding boots.
We have several lists on NicerShoes detailing the top picks on the market for a wide range of boot styles. There’s a boot for every price range out there! Regardless of what you end up spending, however, you’re still going to want to take care of your pair. This can mean regular shining and conditioning for leather, or just avoiding the sagging, and creasing, that eventually comes for all riding boots. But how?! How can you keep your boots looking pristine and smooth all season long?!
No worries on that end, however. I’m here for you, guys. Today I’m going to talk about how you can keep your fashion feeling fresh no matter how much dust they collect. Boot shapers are a great way to keep your favorite footwear from wrinkling prematurely, and staying firm. They can also be pretty expensive, and without much reason. You can just as easily make your own set! This is great for those who are savvy in both fashion and budgeting. If you’re opting for a less expensive pair then paying extra for factory-made shapers doesn’t make any sense. Honestly, I don’t think I have to sell you on the idea that saving money is great. You should be able to agree with that without much prompting!
Anyway, I’ll stop rambling and get right into it. After all, you didn’t come here to listen to me yammering on! You came here to find out how to make your own shapers.
So, let the crafting begin.
DIY Boot Shapers
The topic today is pretty straightforward. Boot shapers do just what their name suggests- they shape boots. This is not a novel concept, and it’s been around pretty much since we’ve been wearing boots. If you’ve ever wondered how people keep their tall boots from sagging or creasing, then this is the answer! Boot shapers will extend the life of your favorite pair significantly, and keep them looking fresh the whole time.
There are a few different materials that can be used for this purpose. One of the most popular is basic cloth filled with cotton or a similar stuffing material. Although, we do have a few creative methods in line, too.
The Pool Noodle Method

This might be the silliest one on the list, so we’re kicking it off on a good note, I think. Pool noodles make great boot shapers, as funny as that may seem. After all, pool noodles are hilarious. There’s no escaping it. Nobody knows why, but they are an absolute riot… At least, I think so. Maybe that’s my inner child speaking, or maybe I’m just easily entertained.
Anyway, you should totally try this method now that summer is coming to an end. You’re not going to be using pool noodles unless you’re a lucky duck with an indoor, heated pool. Most of us are not lucky ducks, I would assume. You can easily buy more pool noodles next season, so sacrifice what you got for the good of your boots!
What You Need:
Exacto Knife
Permanent Marker
Pool Noodle
- Step 1: Measure out how long your boots are and use the permanent marker to mark that length on the pool noodle. This is to ensure you’ll have the exact amount of noodle you need while leaving you extra for the rest of your boot collection. (Hint: If you don’t already have a collection of boots, we can definitely help in that department, too.)
- Step 2: Use your Exacto knife to cut where you marked the noodle. You can really use any type of knife, however. Whatever you have laying around is fine!
- Step 3: Pop that sucker into yah boot, and you’re done! This is a super simple method that only takes a few minutes.
The Seamstress Method
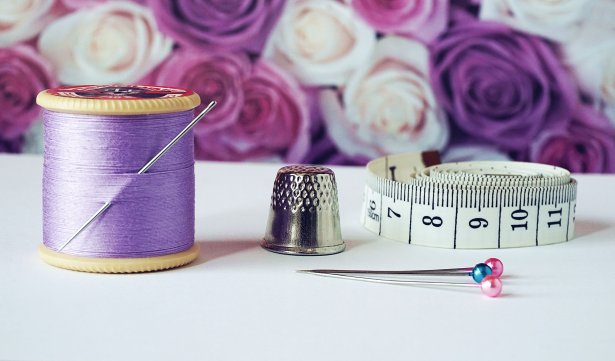
If you’re a little more crafty, this may be the route for you to go. I will warn you that this is a rather intensive process, however, and may only be enjoyable to those who love to sew. You can do this by machine, or by hand. It’s a pretty simple process if you’re handy with a needle and thread! I also love the idea that you can style the shapers however you want. This means that you can easily match the colors to the boots, or add a little pop of style with a print. The choice is up to you!
What You Need:
Needle
Thread
Cloth
Soft Filling
- Step 1: Pick out what you’re going to use for the shaper. I recommend something soft that wouldn’t damage the inside of your boots, and also won’t leave them misshapen. The filling should also be relatively soft and pretty pliable. So, basically don’t use something silly like sand and you’ll be fine.
- Step 2: Measure the boots you’ll be making shapers for. Once you have the measurements you can transfer them over to the cloth. Mark them with a fabric marker, or a permanent marker. Whatever you have on hand works! Essentially, you’re making a tube that is the same width as your boots.
- Step 3: Once you have everything measured out, it’s time to sew! You’ll just sew all the ends together, leaving one opening to stuff your filler in. Once the filling is in, sew that baby up! With this last step, you are done. While there is a lot of work involved, this is a great way to pass a rainy day indoors. If you have some extra time and like sewing then give this a whirl.
The Cardboard Method
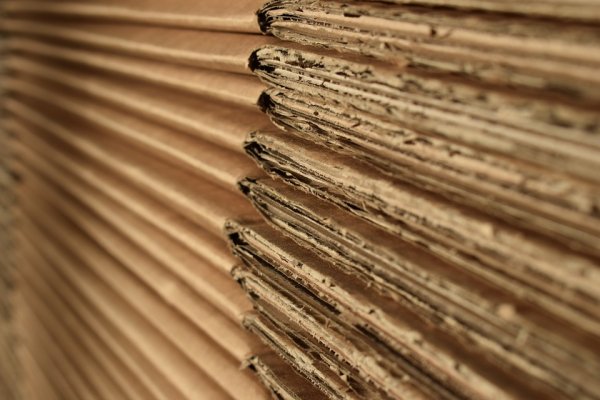
This is also a more intensive method, but it’s not quite as much effort as our seamstress method. It’s also a pretty popular way to get this job done! Most people have at least some form of cardboard laying around, and if not it’s pretty easy to get your hands on. Boxes work like a charm, but it’s even better if you have the thin, pliable stuff.
If you partake in adult beverages, then just grab a six-pack and recycle it into boot shapers! You’ll not only have boot shapers, but also beer. That’s a helluva night, folks! Not a fan of drinking? Try using poster board instead. It’s not just for school projects and business presentations anymore!
What You Need:
Cardboard
Duct Tape
- Step 1: Eyeball how much cardboard you need, and then start shaping it into a tube.
- Step 2: Once you have the right shape and circumference, use the duct tape to finalize your shaper. Pretty easy, right?
The Old Shirt Method

Do you have some old shirts laying around? Sometimes old clothing simply can’t be donated because it’s too tattered or stained or in just all-around poor condition. In this case, it’s always nice to recycle it back into use. Making boot shapers out of old shirts is a great way to do this. It might not be the best option because of the inability to really “shape” the shirts, but it gets the job done in a pinch.
- Step 1: Find old, stained shirts you don’t wear anymore. The more, the better! Have an ugly, old wool sweater? If that’s the case then you only need one.
- Step 2: Ball them up and stuff them in your boots. You’ll want to be careful not to overstuff. Overstuffing can lead to the boot stretching out which is the last thing you want.
The Flip Flop Method
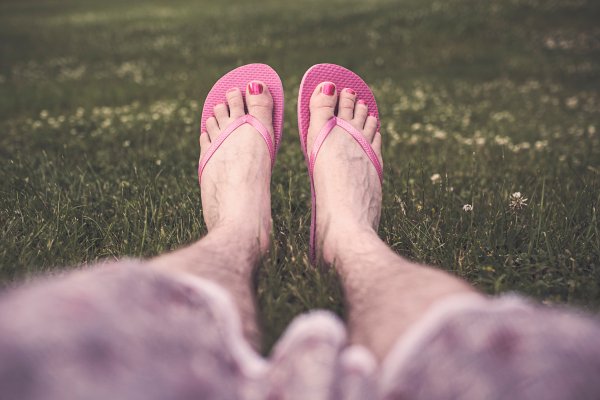
This is a great way to go because it accomplishes two goals:
- Keeping your boots looking shapely
- Creating a place to store your summer sandals
Flip-flops are a staple of summer fashion. We all have a faithful pair that we fall back on when we feel like bummin’ it around town. If you’re like me then you probably have more than one pair (I’m constantly bumming it, judge me). Sometimes it can be a struggle to find the extra storage space for your out-of-season footwear. Have no fear, however! I’m going to show you how to kill two birds with one stone in style.
You can also pair this with the method we went over above. Shirts can be added in to give a little more fill, while the flip-flops provide structural support.
What You Need:
Flip Flops
Old shirts (optional)
- Step 1: Just pop your ‘flops in the boot and presto! You’re good to go.
- Step 2: If you want a little more support, just stuff a couple old shirts in there, too! The flip-flops will give you some structural support, but filling the boots out is important, too.
The Magazine Method
While not everybody has magazines laying around, this is a great method for those who do. After all, who is more likely to have some on hand than fashion aficionados like yourselves? Or, maybe you’re like me and have a subscription to The Scientific American. Really, the topic of the aforementioned magazine doesn’t make a difference (obviously) and it’s not just the most fashion-forward among us who need boot shapers. This is probably the easiest method so long as you have magazines on hand to be used.
What You Need:
Old Magazines
- Step 1: … Or, rather, the only step. Just roll them up, and put them in your boots. They have this handy habit of unfurling as far as they can, so they’ll fill to exactly the circumference of your boots. This means that you can rest assured that your boots will fill out exactly as they should with minimal effort on your part.

Picture this: You go into your closet looking for the right pair of stunners for your day out. In horror, you notice that your boots have sagged noticeably and have creased to the point of no return. In shock, you gasp. How could this happen?! The worst is yet to come, however, since you still need to find an alternative pair of shoes to complete your outfit.
After so much as brushing over this article, however, this is luckily just a hypothetical situation. You’ll never have to experience the pain of realizing your favorite pair has fallen victim to the cruel mistresses, gravity and time. With fall around the corner, the time is now to make sure you’re completely ready. Even after the leaves have long fallen, however, you will still be in desperate need of good shapers! I’m pretty sure that your winter wardrobe, after all, has just as many tall boots in it as your selection for fall.
I think I’ve covered most of the bases, folks, so it’s time for me to take my leave. Stay tuned for more, however! I’m always coming up with new tricks and tips to keep your shoe collection looking fresh, organized, and totally in line with what’s trending this season.
TTFN!