
Shoe Repair: The Complete Guide
 Shoe Repair: The Complete Guide www.walkjogrun.net
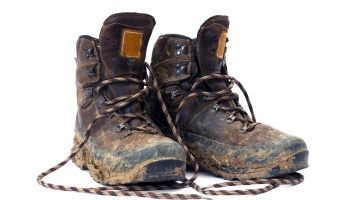
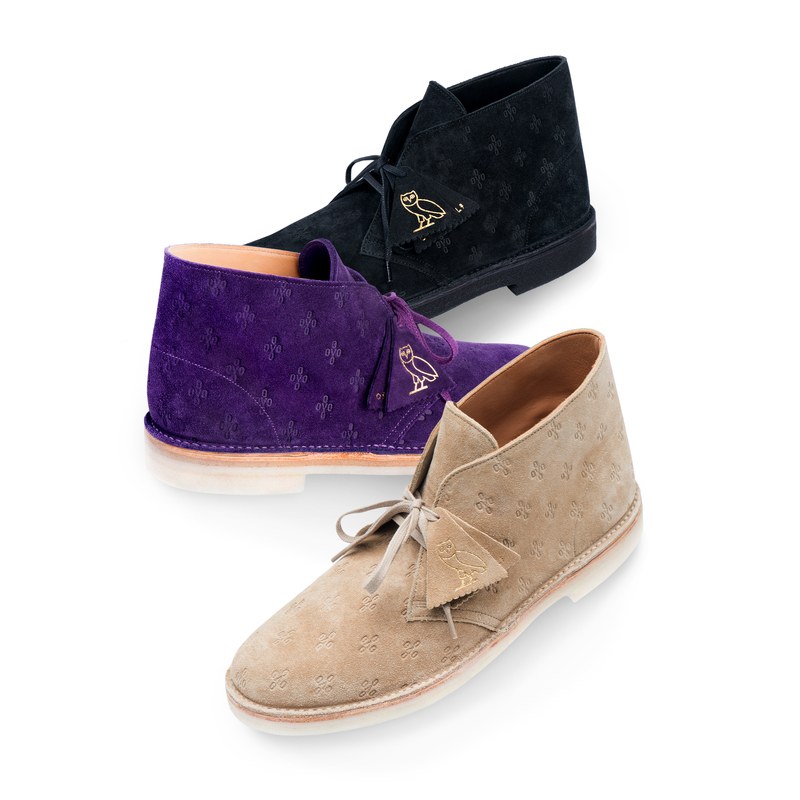
 Shoes giving in on you? You may be able to fix that.
Our shoes are constantly on the run; trekking through the asphalt, concrete, mud, dirt, and anything else you can think of that floods the ground that we walk on.
Consumers are searching for a way to keep their favorite shoes around for a while longer. With this shoe repair guide, your shoes can stick with you through thick and thin!
While it may seem like the shoe repair only needs to be done on the outer layer, the shoe in its entirety needs to be fixed throughout. This guide will tackle the most common of materials for shoes and how to repair them so they will be brand new! Repairing shoes isn’t an easy task. It may be a task fit for professionals, but non-pro’s can try their hand in repairing their shoes as the material needed to do so is readily available to anyone. If you’re practicing for your profession, even better!
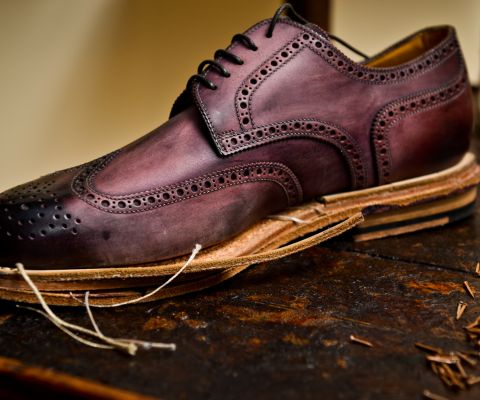
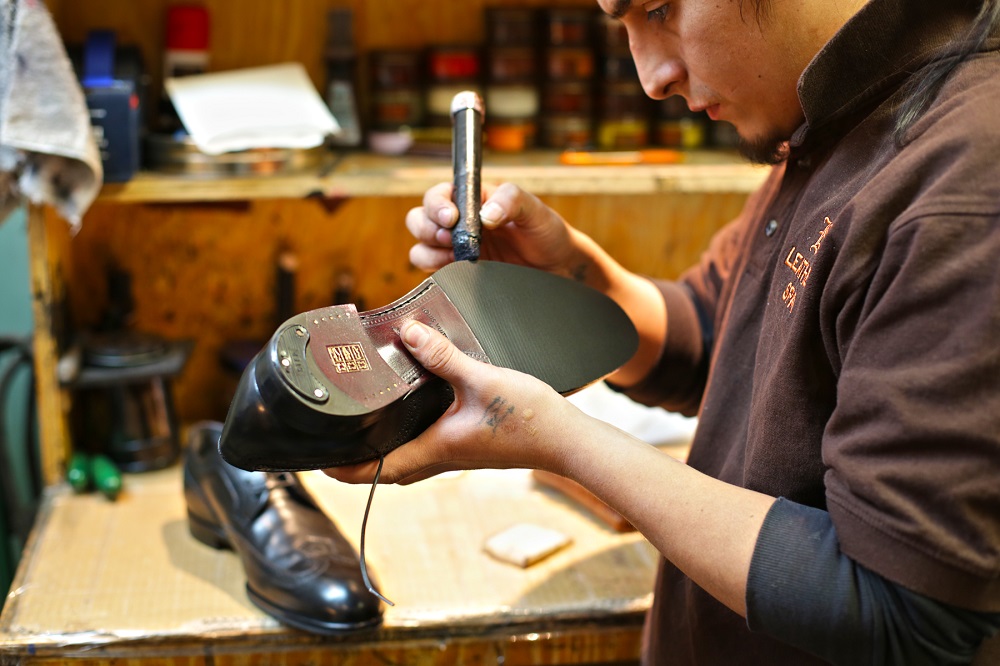
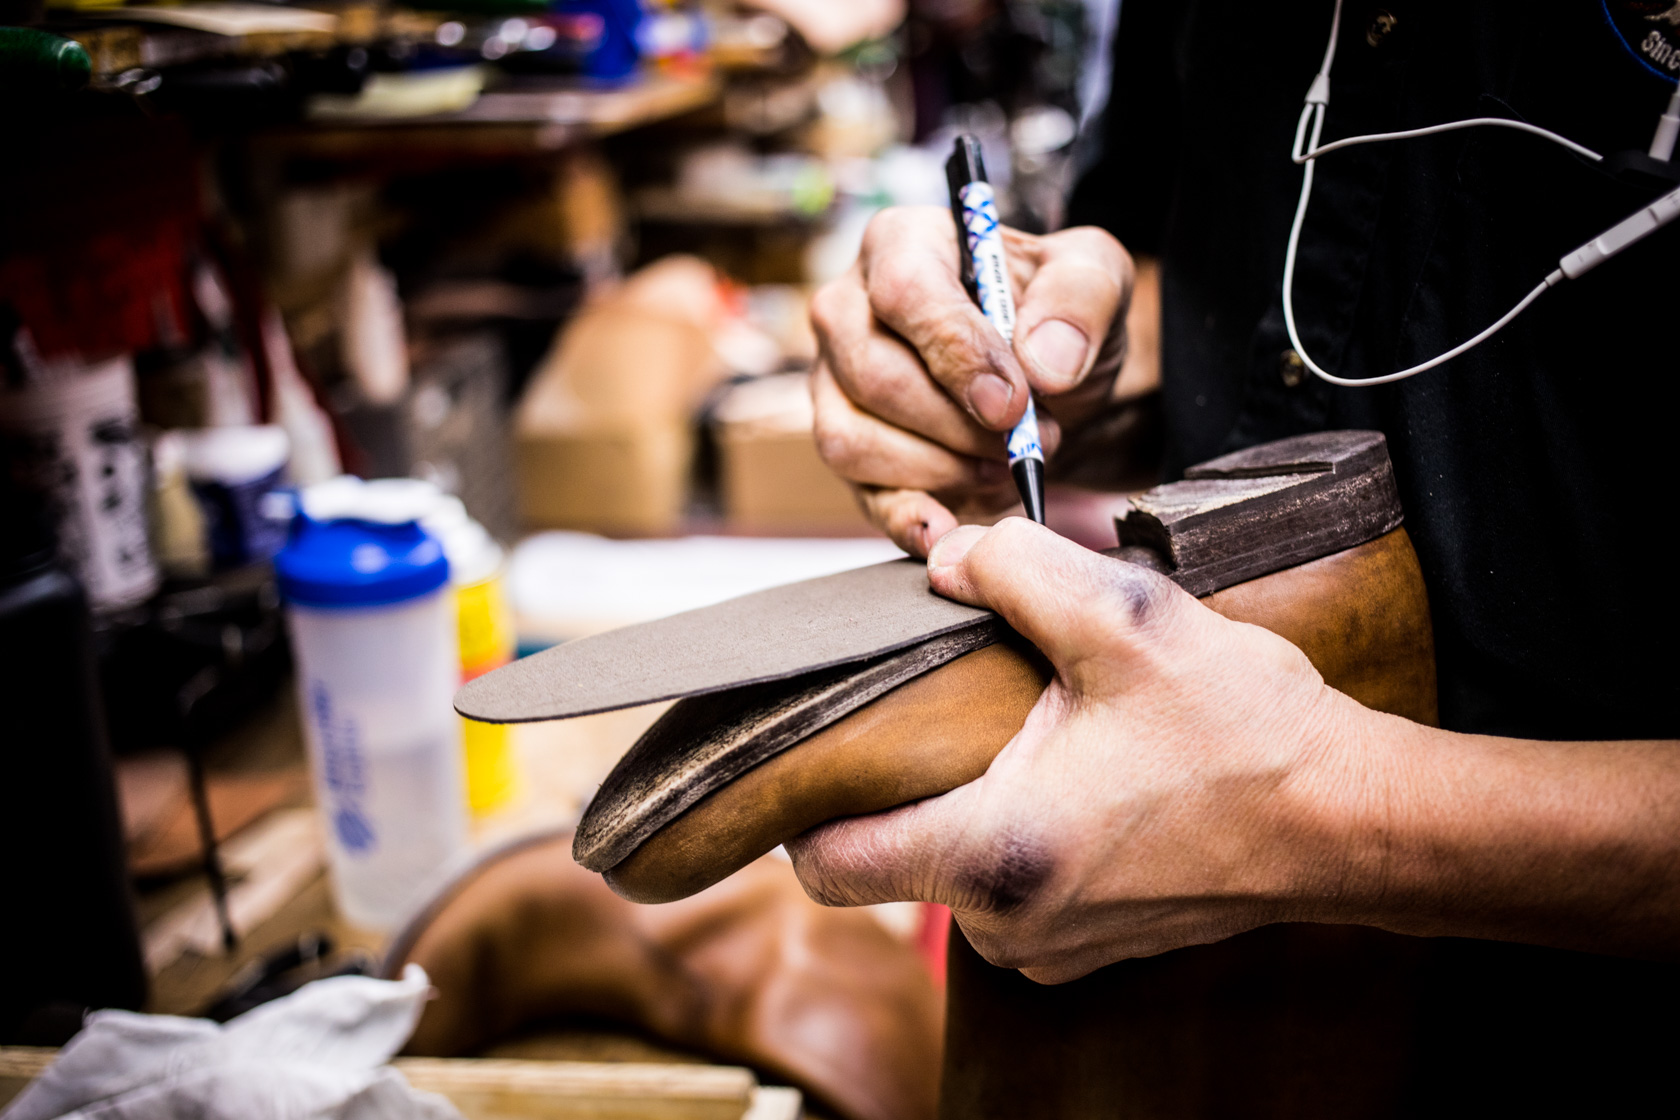
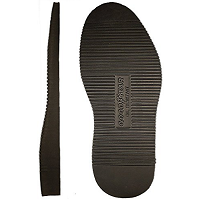
Resoling your Footwear
Resoling is beneficial in shoe repair because it cuts about half the cost of buying a whole new pair of shoes. How? Well, if you invest in the material to repair your shoes, you can repair the same shoe enough times to pay for the material ten times over. Even after you decide to get a new pair, and put your old pair to rest, you will still have material and tools to be able to fix those when they give in.
First looking for the right time to re-sole your shoes is important. When it looks like the shoes are on the verge of giving in, it is probably time to repair them.
Here are some things to look out for:
- The sole of your shoes feel spongy or weak
- Creasing of upper due to weak platform
- Uneven and unstable platform due to wear
- Holes or chunks damaged
- Worn down tread
The Process
- Before you start the resoling process, flattening your soles is the first step. Grinding your soles flat with a sander will do the trick. After the sole is flat enough it is time for the next step.
- After you buy your sole material, tracing your shoe onto the sole material close to the base of the shoe will be ideal. The closer the better because you will eventually cut around this outline in order to place the new sole on your shoe.
- With a tool of your choice, you can start to cut out the sole leaving a little extra material around the edges of the replacement sole.
- Now getting some type of cement glue will be great for placing the sole into place. Although the smell may be strong it is important to follow the directions on the label and wear a mask and be in a location with good ventilation.
- The next step is to apply the glue. Placing the glue on the new and old parts of the shoe. The most important thing to do is to wait until the glue dries completely before you place them together.
- Placing the new and old parts while the glue is still wet will cause the shoe repair to fall apart at a quicker rate. If the glue is at a matte look then it is the perfect time to attach the new and old parts of the shoe.
- The next step is to line up the shoe to the sole material that you previously cut out. Make sure they are lined up carefully before you place them together.
- Once they are placed in the right way walk around a bit to squish the surfaces together and to feel the new and improved sole!
- When all is good to go you can start cutting off the excess edges of the material. You can squeeze together the material at the edges to make sure everything is secure and tight. To give the extra finishing touches you can sand the edges of your shoe to get the perfect shape.
Recommended
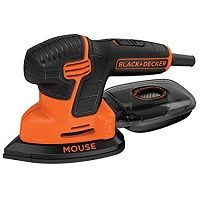
- Black & Decker Mouse Sander
-
Our rating - 3-Position Grip
- Price: See Here

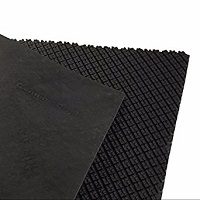
- SoleTech Soling Sheet
-
Our rating - Many Colors & Patterns
- Price: See Here
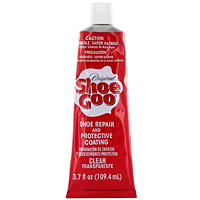
- Shoe Goo Adhesive
-
Our rating - Bonds all Shoe Material
- Price: See Here
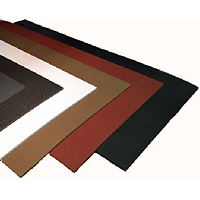
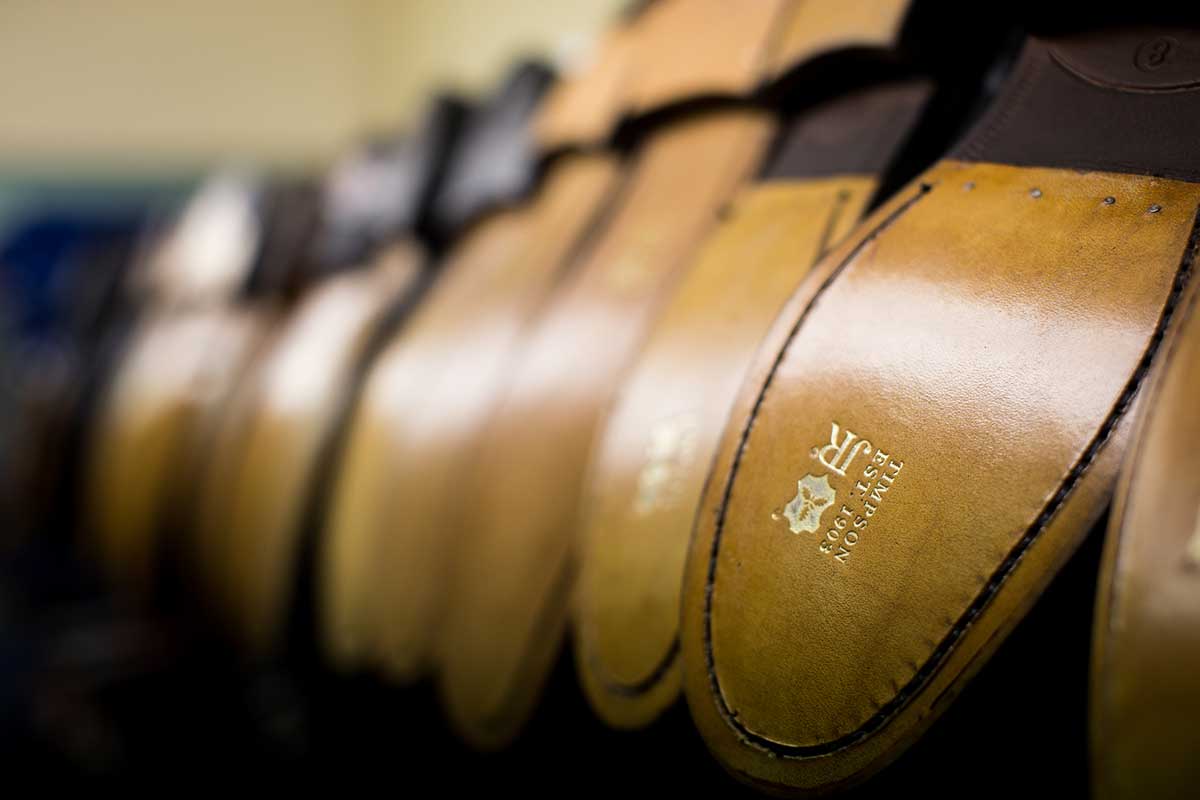
Types of Soles/Insoles
There are many different types of soles. Here are a few popular ones:
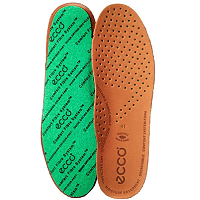
- Leather Insoles
The external sole isn’t the only part of the shoe that is susceptible to damage. Sometimes you need to replace the insole. Leather insoles are what we see most often in standard shoes. It is the original insole that has been used since the beginnings of shoe-wearing times. They are seen in many different styles but primarily are worn in dress shoes. While they are satisfying to look at, these soles are the least weather resistant.
- Orthotic Insoles
When your insole needs to be replaced, you can go with a standard one, or you can go with an orthotic cushioned sole. They are typically used for those who suffer from foot complications or injuries.
- Crepe Soles
These soles come from the rubber family and it differs from the natural rubber we are used to seeing. The crepe sole can be found in different forms, for instance, the plantation style.
- Dainite Rubber Soles
Dainite shoes are a refined version of the commando soles as seen below. But they are seen as an English country type of vibe.
- Neolite Rubber Soles
As seen in some Goodyear brand-made soles. This sole material is very durable but cushioned.
- Commando Soles
The Comando Soles are mostly used in hiking or work setting. This sole has great traction and can withstand any type of weather. Although the look of this sole can appear rather thick and chunky it is the perfect sole that will withstand wear and tear.
Recommended
- Goodyear Sole Replacement
-
Our rating - Flexisoft Rubber
- Price: See Here
- SoleTech Crepe Soling Sheet
-
Our rating - Extra Lift + Cushion
- Price: See Here
- Ecco Leather Insole
-
Our rating - Antibacterial Treatment
- Price: See Here
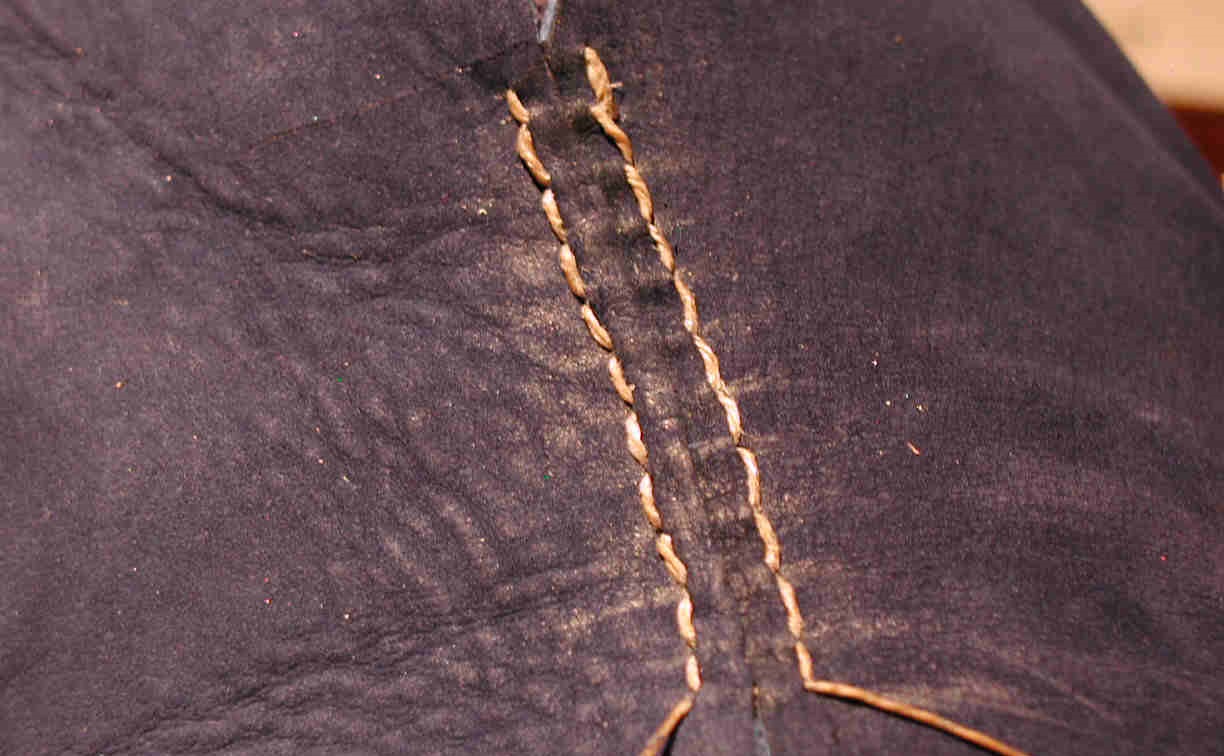
Restitching Your Shoes
Keeping up to date with the latest shoe repairs is essential to longer-lasting footwear. This is why restitching is an important part is shoe repair. Just like clothing, our shoes can rip at the seams.
What you will need:
- 2 needles
- Shoemaker thread
- Beeswax
- Stitching awl
- Pliers
The Process
- The thread should be cut at a lengthy measurement to ensure that there is enough at the time of stitching. In this case, you can never have too much thread just to be on the safe side. While holding the beeswax in one hand and the end of the thread in the other hand the string should be passed through the wax more than one time.
- When you see your ripped seam it is important to place your shoe in an upright position and to begin your sewing about three stitches ahead of the seam that is ripped. The awl will be used to run through the old stitch because it will open the passage of the new set of threads.
- The pliers will be used if you need more assistance passing the needle through the hole. You will pull the stitch until equal lengths are on sides, top and bottom.
- Then the next stitch will be opened and the upper needle will be going down through the hole and the lower needle will pass up through the same opening. Pull each of the thread cords tightly and then repeat this process through the open seam.
- When you have finished closing up the damaged seam, cut the excess thread and with a final touch add some beeswax to the new stitches. This will add a little something extra to your finished product.
Recommended
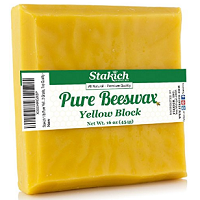
- Stakich Pure Beeswax
-
Our rating - Mild Aroma
- Price: See Here
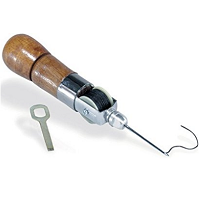
- Tandy Sewing Awl
-
Our rating - For Leather Sewing
- Price: See Here
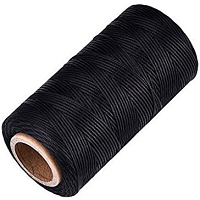
- eBoot Waxed Thread
-
Our rating - Leather Sewing
- Price: See Here
Cleaning & Shining
Cleaning and shining is a form of repair, so we will give you the basics. But, we won’t go into detail as we have a full guide on cleaning that you can refer to. Keeping your shoes clean and shiny is important to a healthy shoe! It is also very easy to do if you have a little extra time to spend on repairing your favorite pair of shoes.
You will need these things in order to begin:
- Shoe polish
- Shine brush (horsehair)
- Shoe polish brush
- Cotton balls
- Shine cloth
The Process
Start with choosing the polish that is right for you! Many shoes can be cleaned but it depends on which polish you enjoy best. They can be found in wax, liquid, and cream forms and can be found in a variety of colors to match the base of your shoe.
- First things first, clean off your shoe. Use an old rag to clean off and dirt and dust that are left behind. If you have some hard residue that requires some water, make sure the shoe is dry before adding the polish.
- When you are ready to start the polishing process make sure you have your shoe polish brush handy. Apply a good amount of polish to the shoe in its entirety. Matching the color is important, so make sure the color of the polish is the same color as your shoe. Apply thoroughly and wait 15 minutes for the polish to dry until going on to the next step.
- The next step requires your shine brush! You will use this brush to clean off any excess polish from your shoe.
- Now if your shoe has been hit with serious wear and tear you can go the extra mile and add a little more polish to the heel and the toe parts of your shoe.
- Dip your cotton ball into some polish and in a circular motion concentrate on the harder areas to clean which are the heel and the toe aspects of your shoes.
- While cleaning and shining are mostly for leather products you can find that some of these tools can come in handy while dealing with other materials as well. For the ultimate shine, you can continue this process with a new cotton ball each time.
Recommended
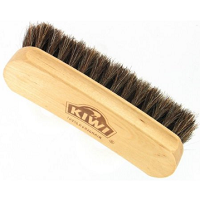
- Kiwi Horsehair Brush
-
Our rating - Soft for Fragile Material
- Price: See Here
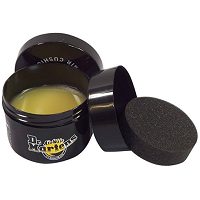
- Dr. Martens Shoe Balsam
-
Our rating - Shines & Protects
- Price: See Here
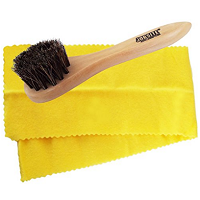
- Jobsite Brush & Cloth
-
Our rating - Shoe Shine Kit
- Price: See Here
Continued Care
A shoe cobbler is recommended to keep your shoes in good condition. Cobblers can help reinforce the outsoles, heels, and toes of your shoes.
You can also purchase sole protectors and heel plates to keep the outer soles protected. They will also help with slipping in sliding in your favorite shoes. These protectors can do a lot of different things but they are mostly there to protect your shoes from a breakdown.
One word, shoe glue…shoe glue will become your best friend. The glue can fix broken heels; it is waterproof and can be used for surfaces like leather, rubber, vinyl, and canvases. Shoe glue is flexible and strong and can protect your shoes in water and can be weather resistant.
Keep the shape of your shoes by investing in some cedar shoe trees in order to keep their figure.
Continued care of your shoes will give you a longer-lasting shoe, and following the shoe repair steps will be a great investment in the long run.
We all have a favorite pair of shoes that we can seem to let go of, but with these steps and the ultimate shoe repair guide we won’t have to give up our favorite pair of shoes, instead, we can repair them and keep them in their best conditions!
Remember to visit our complete guide for shoe cleaning and sterilization.
We also have a complete guide to getting rid of stubborn foot odor, for good!