


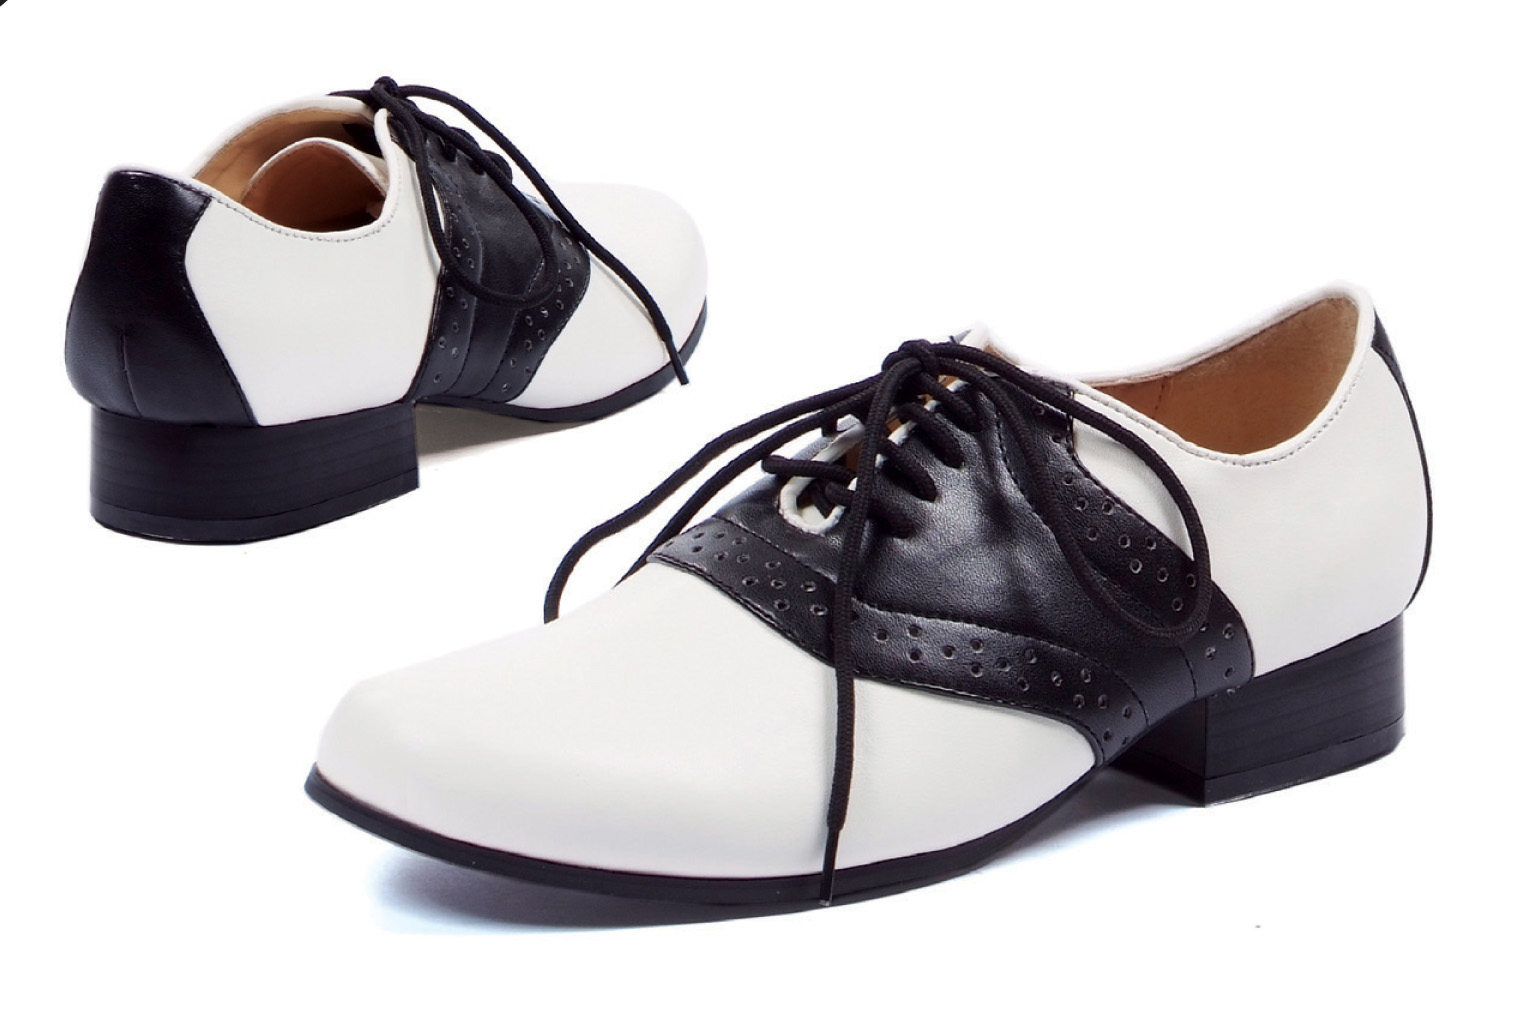
How To Lace Your Shoes: The Complete Guide
 How To Lace Your Shoes: The Complete Guide www.walkjogrun.net
 Did you know there are multiple ways to lace your shoes?
When I was working as a crossing guard and lunchtime supervisor at a neighborhood middle school; I would tell one or two kids per day to tie their shoes. Thankfully, not the same kid and, more times than not, they would comply. I know first hand the dangers of walking around in loose-laced shoes in the wrong place at the wrong time; having it stuck under someone else’s shoe or some other heavy object, tripping over and smashing your head to the hard concrete, and risking all types of pain and head injuries because of the lacking awareness.
So it’s no secret how important it is to teach the young ones how to tie their shoes (and, in turn, would help their young brains to function better). It’s also important to note that some of the lacing styles can do more good, than harm, to your feet. So now; it’s onto the several ways you can lace your shoes.
(Note: For this guide; I will unless otherwise stated, use the standard 8 pair of eyelets on the shoe. Anything around 2-3 pairs of eyelets would, of course, require fewer steps. But the general rules would still apply. The “bottom pair” will be the ones at the location near the toes of the feet. The “top pair” should be the location farthest away from the toes or near the heels and closer to the ankles of the feet.)
Horizontal Style Lacing
Straight Lace Method
Also known as the “Straight Bar,” “Lydiard,” or “Fashion” lacing because of its neatness. It’s been said to help relieve pressure from the top ridge of the foot. And it’s also recommended for use in sports and the military. (If your foot gets damaged or is in need of splints, you can easily slice across the laces with a knife and take your shoe off quickly.) But the drawback is that it can only be done on shoes with even-number eyelets.
- You start off by threading the lace through the bottom pair of eyelets inward; making sure one side of the lace is longer than the other side because that lace will be used throughout the shoe.
- The other side of the lace will go diagonally upward to the top eyelet.
- Then you’ll use the longer lace to go under the second lace and through the second-bottom eyelet, going outward.
- Next, go horizontally across the shoe’s tongue towards the eyelet and loop inward.
- Repeat steps 3 and 4 until you reach the top eyelets.
- Thread the lace through the top eyelet outwards, then finish it up by tying the laces into a bow.
Straight Bar Lacing Method
There’s an alternative way to do the Straight Lace Method where you can avoid going diagonally and using up long lengths of lace:
- Use the lace to thread through the bottom pair of eyelets inward.
- Use one side of the lace to thread outward through the second eyelet; going horizontally towards the eyelet on the other side and threading inward.
- Use the other side of the lace, the lace from the bottom pair of eyelets, to thread from out the third eyelet from the same side; horizontally going towards the third eyelet on the other side and looping inward.
- Use the lace from step 2 to thread out from the fourth eyelet and horizontally go towards the eyelet on the other side; looping inward. (If you don’t know already, it’s important for the lace to skip an eyelet going upward after it went horizontally across the tongue.)
- Repeat steps 3 and 4 until you get to the second-to-the-top pair of eyelets; where you simply repeat step 3. After the horizontal is created, thread that lace through the top eyelet.
- Then take the lace from the second-to-final horizontal that’s been created and thread it through that top eyelet on the same side.
- Finish it up by tying the bow.
Featured Recommendations
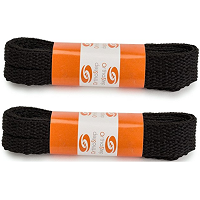
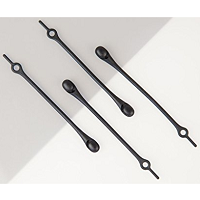
- Mercury Maia Dress Laces
-
Our rating - Rounded
- Price: See Here

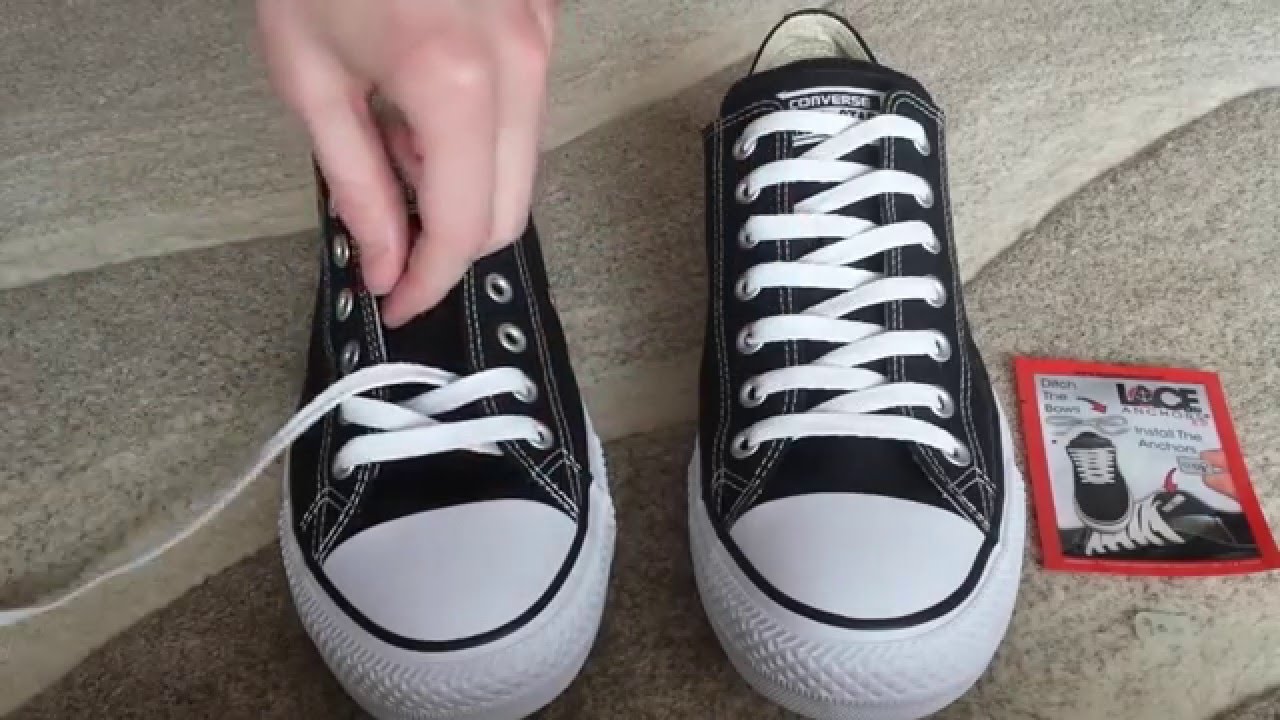
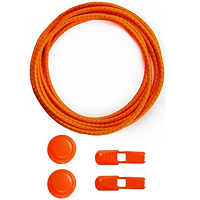
- Lock Laces Reflective
-
Our rating - No-Tie System
- Price: See Here
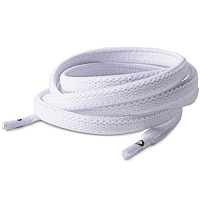
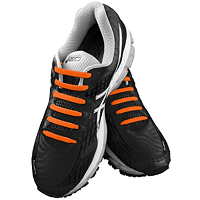
- OrthoStep Flat Athletic
-
Our rating - 18 Colors
- Price: See Here
Straight Easy Lacing Method
This is the easier-to-do alternative method of the Straight Lace Method. However; it still requires an even number of eyelet pairs. If your shoe has an odd-number of eyelet pairs, it would be a mess to work around it. Not impossible, mind you; just messy.
- You start off by threading the lace through the bottom pair of eyelets inward; making sure one side of the lace is longer than the other side because that lace will be used throughout the shoe.
- The other side of the lace will go horizontally towards the top eyelet. Thread the lace outward from that top eyelet.
- Use the longer lace to thread outward from the eyelet that is above the bottom eyelet pair.
- Go horizontally towards the eyelet on the other side and thread inward.
- Repeat steps 3 and 4 for each side, using the same lace, until you get to the top eyelet.
- Finish it up by tying the bow.
Alternative Straight Lace Method
Yet another alternative way to use this method will have you exclude step 1 of threading the laces at the bottom pair of eyelets. (This still implies that you have even-number eyelet pairs.)
- You’ll thread the lace inward through one side of the bottom eyelet. Make sure the side of the lace used for these steps are longer than the other side; you’ll use this a lot.
- Thread the same lace outward through the third eyelet of the same side.
- Make a horizontal to the eyelet on the other side and thread inward.
- Thread the lace outward from the fifth eyelet of the same side.
- Repeat steps 3 and 4 for shoes with over six eyelet pair.
- Avoid the top eyelet pair and start going downward.
Thread the lace outward from the eyelet under the eyelet you were at. - Make a horizontal towards the other side and thread the lace inward through that eyelet.
- Repeat steps 7 and 8 until you made a horizontal at the second-to-bottom eyelet pair.
- Thread the lace outward from the top eyelet on the same side.
- Take the lace from one side of the bottom eyelet and make a horizontal to the other side of the bottom eyelet; threading inward.
- Take the lace from step 11 and thread it outward at the top eyelet on the same side.
- Finish it up by tying the bow.
Featured Recommendations
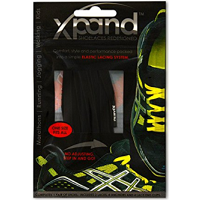
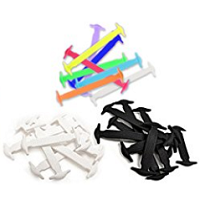
- Xpand No Tie
-
Our rating - Elastic
- Price: See Here
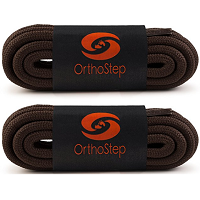
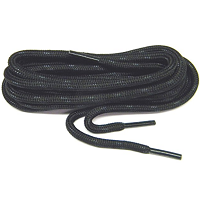
- OrthoStep Round Athletic
-
Our rating - Extra Thick
- Price: See Here
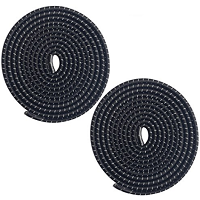
- Komking No Tie
-
Our rating - Stretch Fit
- Price: See Here
Straight European Lacing Method
This lacing style, also known as “Ladder Lacing” is seen mostly in Europe. But it looks messy underneath the horizontal lacing. On odd-number eyelet pairs, make sure the lace for the second horizontal is longer than the lace for the third horizontal.
- Thread lace through bottom eyelets inward.
- Take one side of lace diagonally to 2nd eyelet and thread outward.
- Then take it horizontally to the eyelet on the other side. Thread inward.
- Take the other side of the lace diagonally to 3rd eyelet and thread outward.
- Then take it horizontally to the eyelet on the other side. Thread inward.
- Repeat steps 2-5 until you get to top eyelet pair.
- Finish it up by tying the bow.
Lacing Method For Hiking And Biking
This is the “inside-out” version of the “Straight Bar Lacing Method.” And, despite its use on even-numbered eyelet pairs only and the messy look, it’s perfect for hikers and bicyclists. Here are some things you should know: Hikers should have the knots on the side of the shoes away from snagging undergrowth. Bicyclists should have the knots on the shoes away from chains and cranks.
- Thread lace through bottom eyelets outward.
- On one side, thread lace inward through the second eyelet.
- Go horizontal to the eyelet on the other side, then thread outward.
- Take lace from bottom eyelet and thread inward through the third eyelet on the same side.
- Take lace from second eyelet and thread inward through the fourth eyelet on the same side.
- Take lace from the third eyelet and horizontally to the eyelet on other side, threading outward.
- Take lace from the fourth eyelet and horizontally to the eyelet on other side, threading outward.
- Take lace from third eyelet and thread inward through the fifth eyelet on the same side.
- Take lace from fourth eyelet and thread inward through the sixth eyelet on the same side.
- Take lace from the fifth eyelet and horizontally to the eyelet on other side, threading outward.
- Take lace from the sixth eyelet and horizontally to the eyelet on other side, threading outward.
- Repeat steps 8 through 11 until you get to the top eyelets. Proceed as usual.
- Finish it up by tying the bow.
Featured Recommendations
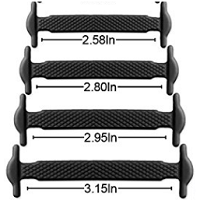
- Shackcom No Tie Flat
-
Our rating - Made of Silicone
- Price: See Here
- Accotcole Round Thick
-
Our rating - Medium Thickness
- Price: See Here
- Shacke Flat Laces
-
Our rating - Variety of Colors
- Price: See Here
Criss-Cross Style Lacing
The Criss-Cross Method
The Criss-Cross is the most common and traditional way to lace the shoes. It’s also the most comfortable and thereby preferred, way to lace the shoes since the laces don’t put pressure on the top of the feet. But the drawback here is that it wrinkles the shoes.
- You thread the lace through the bottom pair of eyelets so that the laces would come from out of the eyelets.
- You take the lace on one side and make a diagonal towards the next eyelet up, threading inward.
- You take the lace on the other side and make a diagonal towards the next eyelet up (in the same pair of eyelet as last step), threading inward.
- Repeat steps 2 and 3 until you either get to a sown-in loop on the shoe’s tongue or you get to the top.
- If the sown-in loop is present; thread the lace through while you make the diagonal towards the next eyelet upward.
- After threading the laces through the eyelets on the topmost pair of eyelets; simply finish it up by tying the bow.
Heel Locking Method
If you find that your heels are slipping within your shoes, use this technique to alleviate the problem.
A) This method is used before you get to the final step of the Criss-Cross Method.
B) Leave the top pair of eyelets unused.
C) Thread the lace from one side inward through the top eyelet on the same side.
D) Repeat step three for the lace on the other side.
E) Insert the lace from one side through the hole you created (from the lace going from the top eyelet to the second-to-top eyelet) on the other side.
F) Repeat step 5 for the lace on the other side.
G) Finish it up by tying the bow like normally.
Featured Recommendations
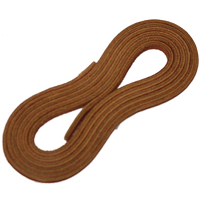
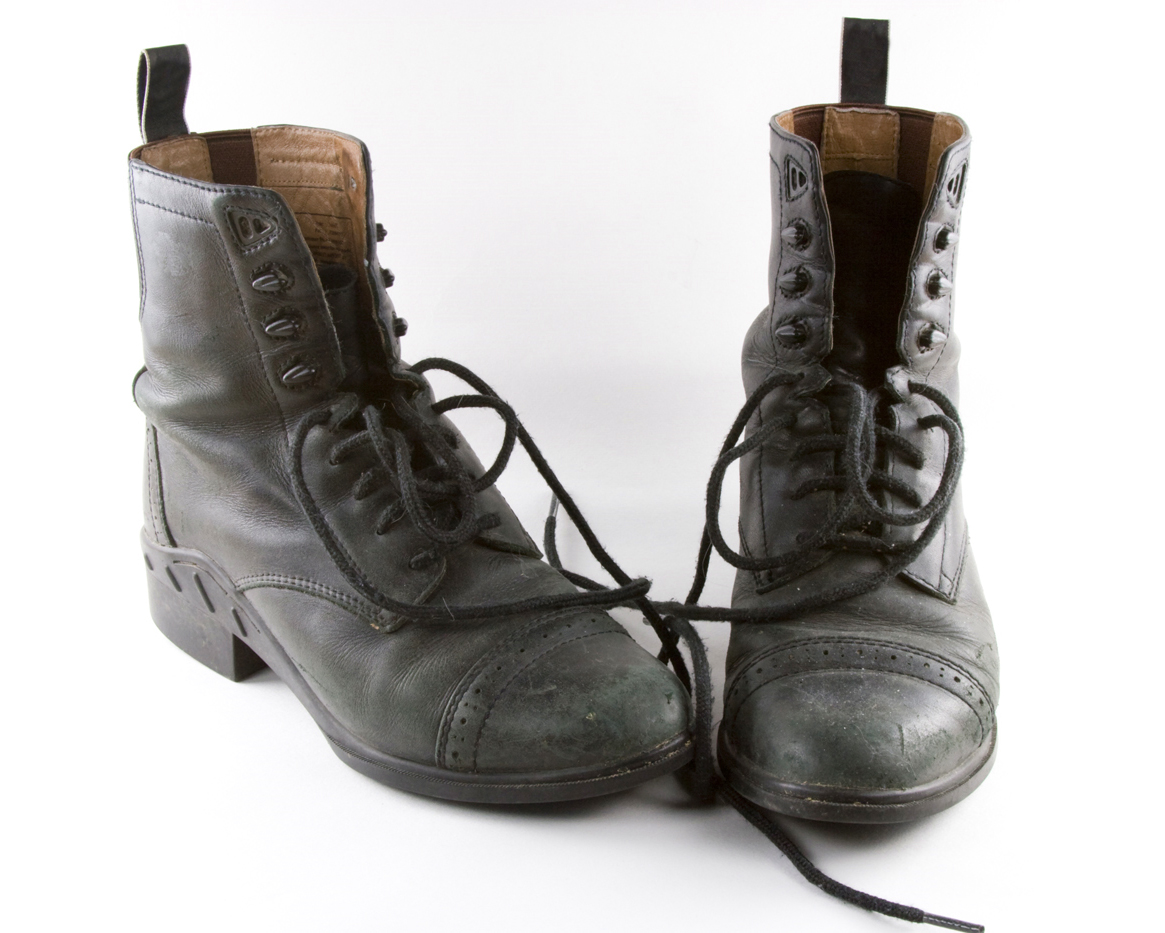
- Tofl Boot Laces
-
Our rating - Made of Leather
- Price: See Here
- Lock Laces for Boots
-
Our rating - No Tie System
- Price: See Here
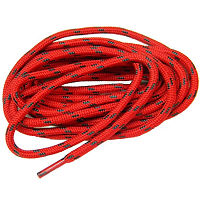
- GreatLaces Boot Laces
-
Our rating - Made of Kevlar
- Price: See Here
Gap Lacing Method
The Gap lacing is yet another variation of the Criss-Cross Method; used to either avoid any sensitive spot on the top of the foot or to increase flexibility. This is a simple process that can be done in the middle of your shoe or in a specific/troubling area: You thread outward from the eyelet pair, stay on the side as you head to the next eyelet pair, then thread inwards as you continue to crisscross towards the top.
Lattice Lacing Method
The Lattice Method, while it doesn’t have any health benefits to the feet, is a “very popular” method that can win you some “show-off points.” It consists of steep diagonal patterns. And while it’s not too difficult to perform when you know what you’re doing, it’s difficult to tighten properly. This method has several variations; three or more styles can be performed on shoes with seven or more eyelet pairs. And you might end up having to run your laces through one or more pairs of eyelets a second time.
But for starters, I’ll start with the “standard approach” using a shoe with six pairs of eyelets.
- You thread the lace through the bottom pair of eyelets so that the laces would come from out of the eyelets.
- You then skip the second eyelet pair and head diagonally towards the eyelet of the third pair; threading the lace inward. Repeat this step for the other side.
- From the underside, you thread the lace outward from the second eyelet of the same side and head diagonally to the fourth eyelet on the other side; thread the lace inward. Repeat this step for the other side.
- Thread the lace from out of the third eyelet of the same side (hoping that you can do it without any difficulty). Then head diagonally to the fifth eyelet on the other side and thread inward. Repeat this step for the other side.
- Repeat step 4 for the fourth and six eyelet pairs respectively.
- Finish it up with a bow on the top eyelet pair.
There are Lattice styles where you can avoid threading the eyelets a second time. This method works like so:
- You thread the lace through the bottom pair of eyelets so that the laces would come from out of the eyelets.
- Skip two eyelet pairs while going diagonally upward and thread the fourth eyelet pair inward.
- Stay on the same side and thread outward either from the (A) second eyelet pair or the (B) fifth eyelet pair.
- Make a diagonal either (A) upward towards the fifth eyelet pair on the other side or (B) downward towards the second eyelet pair on the other side. Thread inwards.
- Thread outwards from the third eyelet pair and diagonally head towards the sixth eyelet pair.
- Thread outwards from the sixth eyelet pair.
- Finish it up with a bow.
For shoes that have more than six eyelet pairs; several steps can be accomplished. You can:
A) Skip the middle eyelet pair on your shoe.
B) At the bottom eyelet pair, lace from the outside and thread inwards; then either start off with a crisscross or lace outwards from the second eyelet pair from the same sides.
C) Make the diagonals steeper by skipping three eyelet pairs instead of two.
D) At the top and second-to-top eyelet pairs, you can finish with a crisscross or by threading the second-to-top inwards and threading the top outwards on the same side.
Featured Recommendations
- GreatLaces proTOUGH for Boots
-
Our rating - Made of Kevlar
- Price: See Here
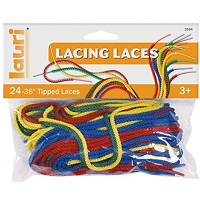
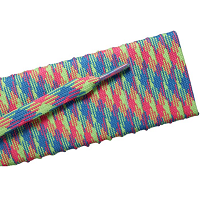
- Patch Products Lauri 36"
-
Our rating - 24 Colored Laces
- Price: See Here
- Gobike Elastic No Tie
-
Our rating - Great for Kids
- Price: See Here
Zig-Zag Style Lacing
Shoe Shop Lacing Method
Most shoes come pre-laced from the factory. This is called the Shoe Shop Method; aka Factory or Single Helix Lacing. An awesome idea when you’re at the store and you want to try on a pair of shoes.
- Thread the lace inward through the bottom pair of eyelets. Make sure one side of the lace is longer than the other side.
- Diagonally take the shorter side lace to one of the top eyelet pair. Then thread outward.
- Diagonally take the longer side lace to the next eyelet upward. Thread outward.
- Horizontally take this lace to the eyelet on the other side. Thread inward.
- Repeat steps 4 and 5 until you reach the top eyelet.
- Finish it up by tying the bow.
One-Handed Lacing Method
The One-Handed Method is sort of like the Shoe Shop Method. But this is specifically for those who can only use one hand. While the drawback is an overall loose fit, It’s the best a person with disabilities can do.
- Start from the top eyelet pair; threading both sides inward and tying one end with a stopper know.
- Diagonally head towards the next eyelet down and thread outwards.
- Horizontally head towards the eyelet on the other side and thread inwards.
- Repeat steps two and three until you get to the bottom eyelet pair.
- After the final horizontal lacing and an inward threading through the eyelet, tuck the lacing through the horizontal and diagonal laces as you head back towards the top.
The One-Handed Lacing Method can be considered part of the “Other, Non-traditional Lacing Methods” as noted below.
Featured Recommendations
- The Original Stretchlace
-
Our rating - Elastic Polyester/Rubber
- Price: See Here
- ShoeLacesExpress Flat
-
Our rating - Athletic Laces
- Price: See Here

- OrthoStep Flat Athletic
-
Our rating - Narrow Laces
- Price: See Here
Lightning Lacing Method
The Lightning Method is the variation of the Shoe Shop Method but without having the lace running over the shoe tongue a second time. It “looks like a lightning bolt” and it’s “lightning face to lace,” hence the name. Another way to get “show-off points.” Once again; one side of the lace needs to be longer than the other side because the former is the lacing side.
- Thread lace through bottom eyelets outward. (Shoes with odd-number eyelet pairs can skip this step.)
- Shorter end of lace diagonally goes to the top eyelet on the other side. Thread inward.
- Longer end starts with a diagonal to the second eyelet. Thread inward.
- Then go up to the third eyelet on the same side. Thread outward.
- Go diagonally down to second eyelet and thread inward.
- Then go to the third eyelet on the same side. Thread outward.
- Repeat steps 3 through 6 until you get to the top eyelet that isn’t used.
- Finish it up by tying the bow.
Other, Non-Traditional Lacing
These types of methods are ones that don’t require you to start from the bottom of the shoe. Some of them, the Ukrainian and Corset Lacing, require you to start from the top. And, thankfully, these lacing methods are basically the reverse of the Criss-Cross Method. They merely have you make a permanent knot or two at the bottom of the shoe, then have you tie the shoe from the middle.
Ukrainian Lacing Method
(Called so because it’s usually found in the Ukraine. No loose ends and has fewer steps, but the top eyelets are loose.)
- Thread lace through the top eyelet pairs outward.
- Leave a long slack of lace on both sides; about 100mm/4″.
- Loop both sides twice before threading them inward through the second top eyelet pairs.
- Criss-cross them diagonally to the third top eyelet pair. Thread them inward.
- Repeat step 4 until you get to the bottom eyelet pair and proceed accordingly.
- Anchor them from the shoe’s inside using stopper knots.
Featured Recommendations
- Homar No Tie
-
Our rating - For Kids & Adults
- Price: See Here
- DB No Tie Elastic
-
Our rating - Adjustable Tension
- Price: See Here
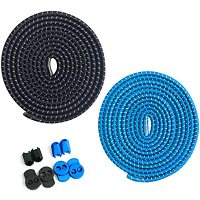
- Hickies No Tie Elastic
-
Our rating - Memory Fit Material
- Price: See Here
Corset Lacing Method
(Called so because it looks like a corset. Extra tightening but also extra messy.)
- Thread lace through the top eyelet pairs inward.
- Crisscross the laces under and over the eyelet pairs until you get to the middle of the shoe’s eyelet pairs. (i.e.: The 4th pair going down or the 5th pair going up on an 8-eyelet-pair shoe.)
- Place some slack of lace on both sides. These long loops of slack with be used to tie the shoes. (About 250mm / 10″)
- Continue to crisscross under and over the eyelet pairs until you reach the bottom pair.
- Thread the laces outwards through the eyelets.
- Finish it up with either a reef knot or some other permanent knot.
Others, like the Double Back and Spider Web Methods, require you to start at the middle. The Riding Boot Method seems REALY out there, but it has its reasons. This method has a zig-zag lacing design and the starting lace going diagonally from the bottom left/right eyelet to the top right/left eyelet. It ends with you tying the boot from the middle. Equestrians and bike riders specifically tie their riding boots this way.
Double Back Lacing Method
(Stays very tight but is terribly awkward.)
- Thread lace through the second-to-top eyelet pair inward.
- Crisscross downward to the fourth-to-top eyelet pair; thread inward again.
- Crisscross downward to the third-to-bottom eyelet pair; thread inwards.
- Crisscross downward to the bottom eyelet pair; thread inwards.
- Go up to the second-to-bottom eyelet pair, staying on the same side. Then thread outwards.
- Crisscross upwards to the fourth-to-bottom eyelet pair; thread outwards.
- Crisscross upwards to the third-to-top eyelet pair; thread outwards.
- Crisscross upwards to the top eyelet pair; thread outwards.
- Finish it up by tying a bow.
Featured Recommendations
- StoutGears No Tie Reflective
-
Our rating - Great for Sports
- Price: See Here
- Kicks No Tie
-
Our rating - Made of Elastic Silicone
- Price: See Here
- Oumers No Tie
-
Our rating - Made of Silicone
- Price: See Here
Spider Web Lacing Method
(Decorative and firm, but harder to tighten)
- Thread lace through the second-to-bottom eyelet pair outward.
- Laces stay on each side as you thread inwards through the bottom eyelet pair.
- Criss-cross to the third-to-bottom eyelet pair, then thread outwards.
- Thread the lace through the hoops created by the laces at the bottom and second eyelet pairs.
- Criss-cross to the fourth-to-bottom eyelet pair, then thread outwards.
- Repeat steps 4 and 5 until you reach the top eyelet pair.
- Finish it up by tying the bow.
Riding Boot Lacing Method
(Neat, unusual layout but only for special purposes.)
- Start by lacing the bottom eyelet diagonally with the top eyelet, then thread outwards.
- From the bottom eyelet, horizontally head to the eyelet on the other side and thread inwards.
- Diagonally head to the second-to-bottom eyelet and thread outwards.
- Repeat steps 2 and 3 until you reach the fifth-to-bottom / fourth-to-top eyelet or the middle of the shoe.
- From the top eyelet, horizontally head to the eyelet on the other side and thread inwards.
- Diagonally head to the second-to-top eyelet and thread outwards.
- Repeat steps 5 and 6 until you reach the fifth-to-bottom / fourth-to-top eyelet or the middle of the shoe.
- Finish it up by tying the bow.
Featured Recommendations
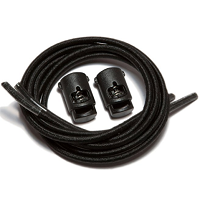
- SpeedLaces iBungee No Tie
-
Our rating - Purposed for Runners
- Price: See Here
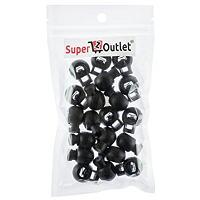
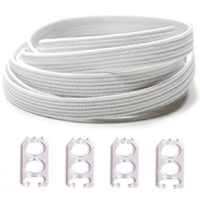
- Quick Lace Fasteners
-
Our rating - For Any Lock Laces
- Price: See Here

- Inmaker No Tie
-
Our rating - Elastic Silicone
- Price: See Here
Gippo Lacing Method
The Gippo Lacing Method looks to be the most difficult lacing method to do; combining the Corset Method with one other method that utilized a zig-zag pattern. This method starts at the middle of the boot, zig-zags along the eyelets before and after the “closing loops” get created on the top, and ends with a permanent knot at the bottom. While it can be easy to tighten the boots with that method, it’s one of the more complicated lacing methods to master.
- Thread lace through the fourth-to-bottom eyelet pair inward.
- From one side, diagonally head to the fourth-to-top eyelet and thread outwards.
- Horizontally head to the eyelet on the other side and thread inwards.
- Repeat steps 2 and 3.
- Diagonally head to the top eyelet, then thread outwards.
- Leave a 250mm / 4″ slack of lace, then thread the lace inwards through the second-to-top eyelet on the same side.
- This same lace should head diagonally to the bottom eyelet. Then thread outwards.
- From step 1; take the other side of the lace and diagonally head to the top eyelet. Thread outwards.
- Leave a 250mm / 4″ slack of lace, then thread the lace inwards through the second-to-top eyelet on the same side.
- Diagonally head to the third-to-bottom eyelet and thread outwards.
- Horizontally head to the eyelet on the other side and thread inwards.
- Diagonally head to the second-to-bottom eyelet and thread outwards.
- Horizontally head to the eyelet on the other side and thread inwards.
- Repeat steps 12 and 13.
- Finish it up by tying it with a reef knot or some other permanent knot.
Featured Recommendations
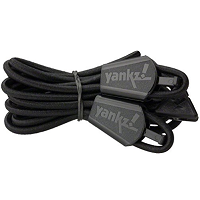
- Yankz Sure Laces
-
Our rating - Round Elastic
- Price: See Here
- SnapLaces Performance
-
Our rating - One-Handed Lacing
- Price: See Here
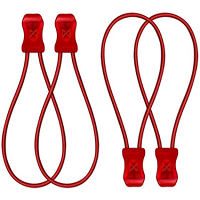
- iSUN No Tie
-
Our rating - One Size Fits All
- Price: See Here
To Sum it Up
As of today; there are about 50 ways to lace your shoes. With mathematics saying that there are about two trillion ways to lace up shoes with six eyelet pairs alone. And I listed in detail about 20 ways to lace them. All-in-all; these trillions of methods are all just mixes and matches of the different ways you can lace your show, along with the number of eyelet pairs you can do them from. Starting off from the Criss-Cross Methods, then the Straight Methods, and ultimately seeing how far you can go. It all depends on your imagination and circumstances. (Or, after getting overwhelmed from all of these methods, you can throw your hands up in exasperation and stick to velcro shoes or slip ons.)
Don’t forget to see our complete guide on how to repair shoes.
Dirty shoes? Here’s a tutorial on how to clean them.
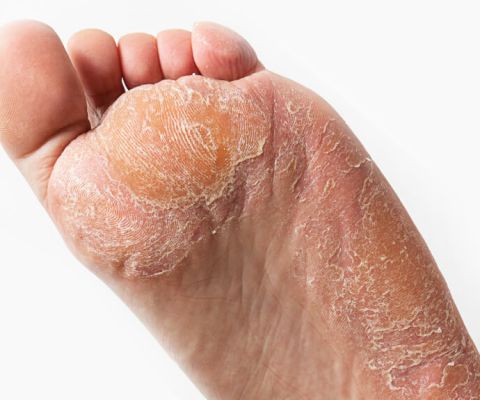
Foot Calluses or Corns? Here’s how to deal with them.
Maybe foot odor is your problem? Don’t worry, we have a guide for that too.