
Foot & Plantar Wart Treatment Plus Removal: Complete Guide
 Foot & Plantar Wart Treatment Plus Removal: Complete Guide www.walkjogrun.net
 Once you start researching the phenomenon commonly known as the wart, it doesn’t take long before you realize you’re dealing with a virus. The one thing we’ve learned about viruses is the fact that they spread their poison and infect as many victims as they possibly can in many different forms under the names of many different diseases. They show up on kids and adults of all ages, in every country and every race mainly on the hands and feet. This article will help in identifying the different types of warts, the most effective treatments and/or the multiple methods to successful foot wart removal products.
What is a virus anyway? We’ve heard about them all our lives. Ever since we caught our first cold or flu, every time we coughed or sneezed, someone probably told you to cover your mouth or handed you a tissue. This sneaky, invisible predator has been gunning for us since the day we were born, making life as miserable as it can for us, our families and pets. Before going into battle against a virus of any kind, take a moment to learn the basics about your enemy. The more you know about contagions, the better you’ll be at avoiding the infection or spreading it to others.
Foot & Plantar Wart Treatment
Facts About Viruses: What are They and How We Fight Them
What “Going Viral” Really Means
No, this virus won’t hurt your computer, but it will hurt the person using the pc. This isn’t a popular viral video either. If you’ve ever had your tech tell you your computer had a virus or heard about certain emails that could infect your pc, this will help you understand how they operate and how they got their name.
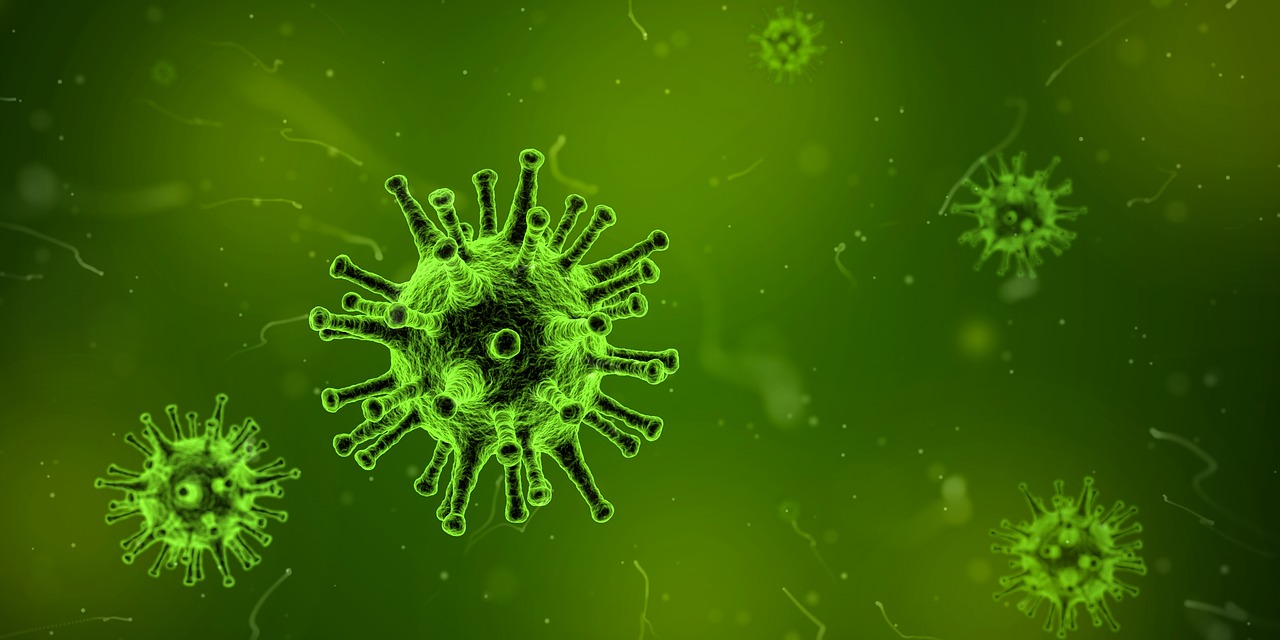
A virus is an infectious, microscopic agent that can only replicate while living inside the cells of other organisms. Viruses can successfully invade and infect life forms of all types including bacteria. The reason they’re so successful begins with their size: viruses (compared to the human cell) are about 100 times smaller. Their shapes vary and they’re found everywhere life is present. Simply stated; viruses outnumber every biological unit on Earth ranking #1 amongst life forms. Every time the news reports a story about massive, life-threatening infections, you can bet the infamous virus is responsible. Diseases caused by viruses include cancer, Ebola hemorrhagic fever, rabies, HIV, measles, smallpox, yellow fever, Spanish influenza and warts (both plantar and Palmer) to name a few. The virus goes through very specific steps in the process of infecting us, here are some examples of their methods:
Step #1: Transmission Techniques
It may surprise you to learn that on their own, viruses are not alive. They can’t grow or multiply unless they enter the cell of a human or animal cell. Once they take over the cell, viral particles are produced instead of the cells normal properties.
Both viruses and bacteria spread disease and infections in similar ways.
A person infected with the flu or a cold is likely to spread the virus by coughing and/or sneezing. We’ve all heard the one about touching a faucet in the bathroom, that’s why we see water coming out automatically when we put our hands underneath the spout to be washed in public places.
Bacteria and viruses are also transmitted to others by direct physical contact i.e., touching, kissing and shaking hands are just a few examples.
Viruses must first attach themselves to the cell’s surface via a receptor. Each individual virus has its own specific receptor which is a necessary component of the cell’s surface.
The cell preference for viruses all comes down to the distribution of the receptor molecules on the host’s cells. The reason we spread the flu virus by sneezing is due to the fact that the flu virus prefers the mucus lining of the lungs and the bronchi.
Step #2: The Role We Play in Spreading Disease
Direct contact with raw meat and vegetables during food preparation or touching food with dirty hands will also allow viruses or bacteria from the intestine to spread. In other words, you can infect it and, it can infect you. Wash your hands with soap before and after handling anything eatable and after using the bathroom.
Exposure to bodily fluids, such as blood, semen, and saliva may be infectious if they contain harmful and contagious organisms.
The transmission of these fluids occurs most frequently during sexual contact and injection by syringe and is the most common way to spread viral infections like hepatitis or AIDS.
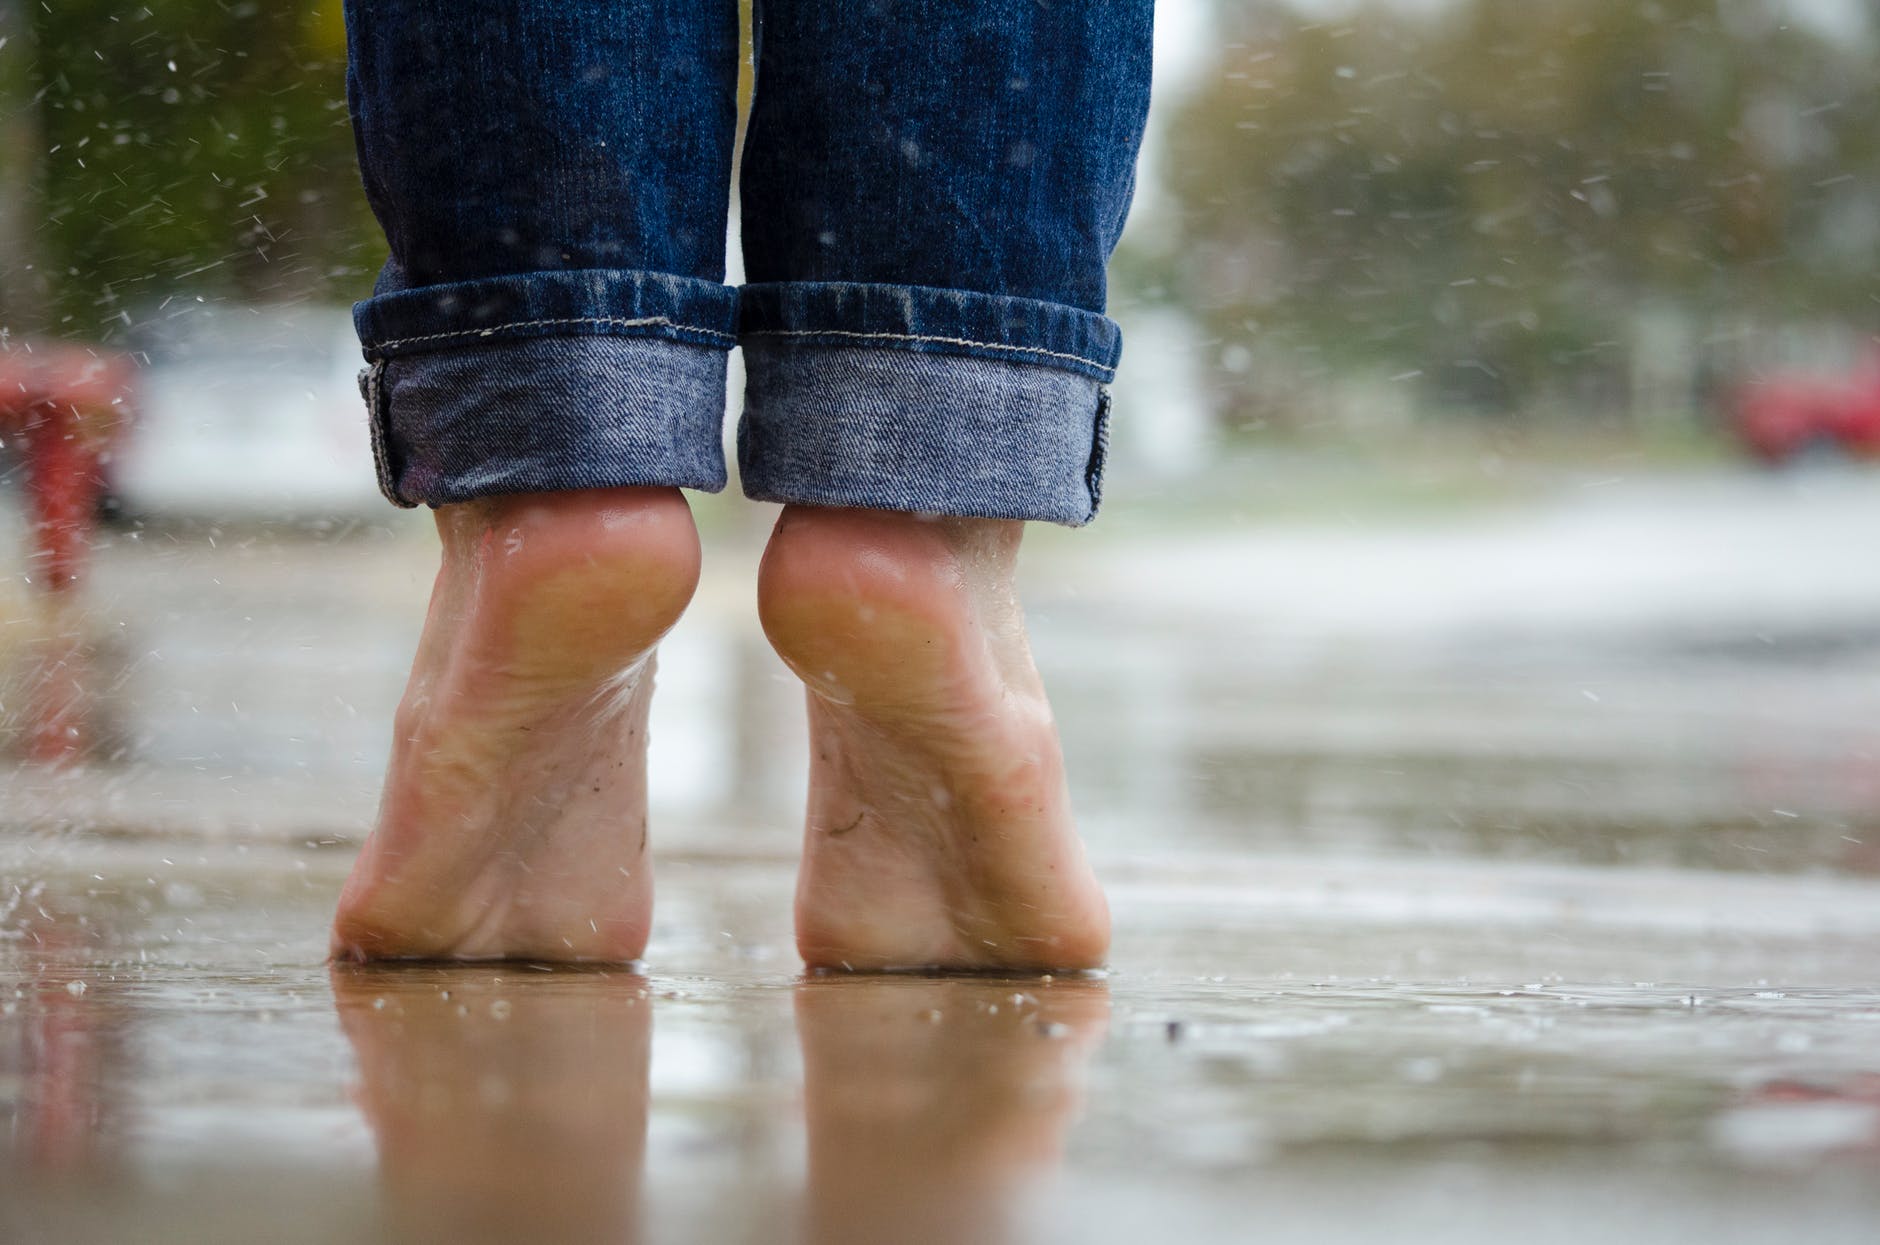
Neither plantar nor palmer warts are harmful nor malignant. However, they are the cause of irritation, embarrassment, and pain, depending on where they are located. These two types of warts are contagious due to the human papillomavirus (HPV) and may spread from one person to another or, from a warm, wet environment (such as public swimming pools, gyms or spas) to a human being. However, the particular strain of HPV responsible for plantar warts is not considered extremely contagious and does not affect everyone the same way.
Recommendations:
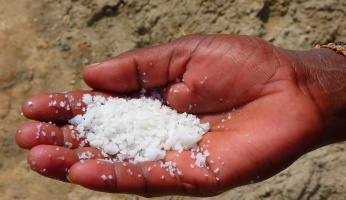
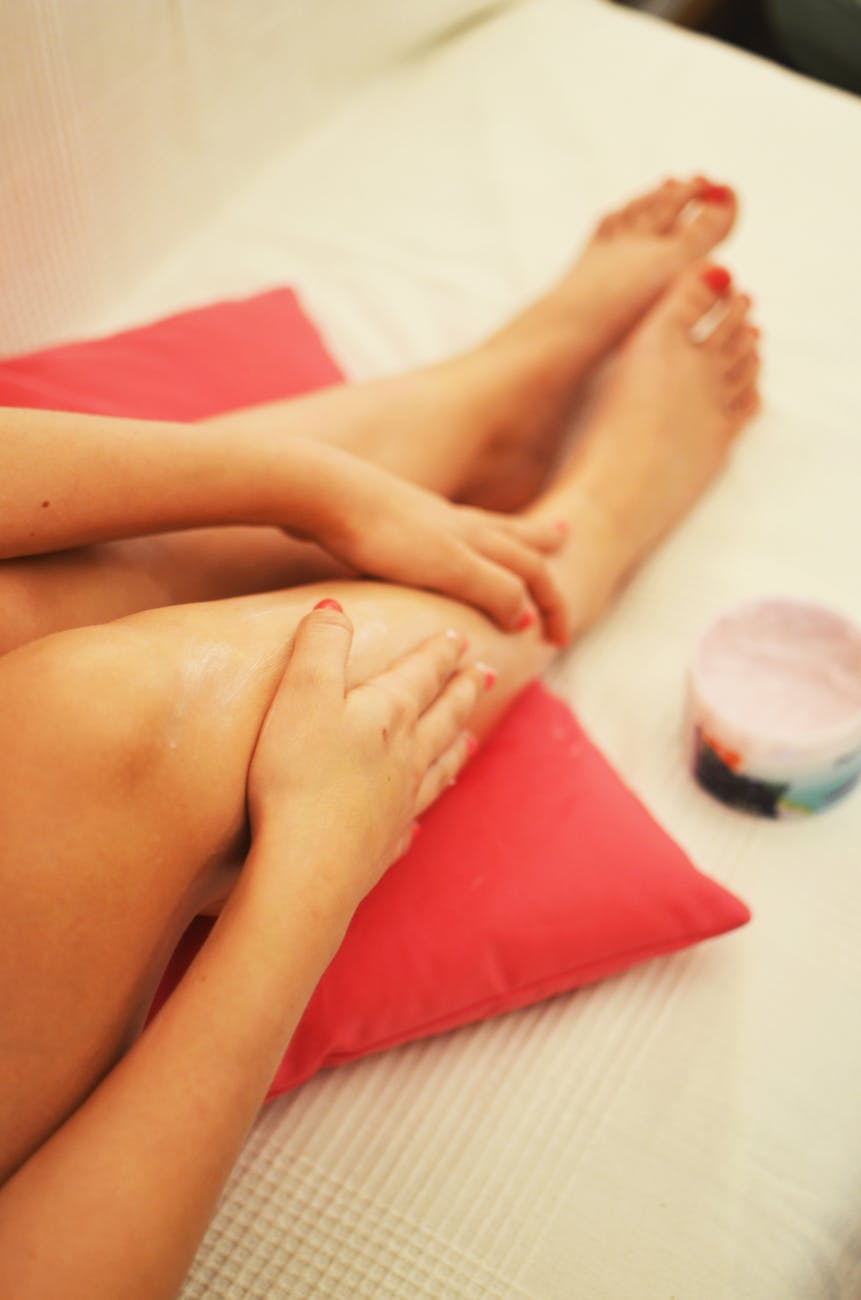
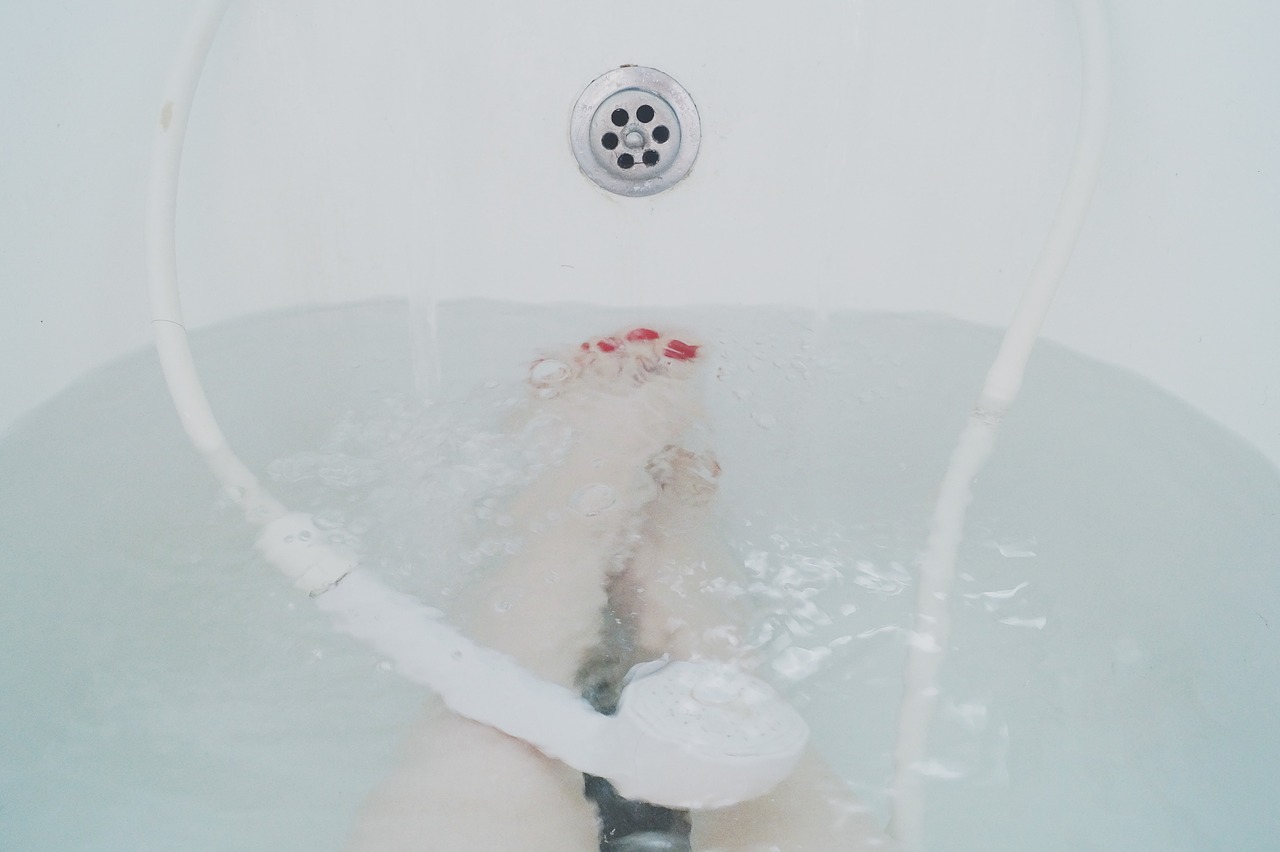
Taking responsibility for our part in the spread of disease is vitally important. At some point, it could mean the difference between life and death. There are hundreds of occasions during the day that require hand washing and/or helping a child or handicapped person wash theirs. The only way to send the message is to do it ourselves. Hand sanitizers are a great substitute when soap and water aren’t available and more readily available than ever before. Supermarkets even offer them at the door-so grab one. When it comes to protecting your feet from coming in contact with the virus that carries HPV, remember moisture is the key. Shower shoes will help and/or drying the wet areas of the foot will help as well, especially if you have cuts, scrapes or weakened areas where the virus may enter. Be sure to dry your feet last and always wash the towels before using again.

Plantar Warts: Reading the Signs and Making Sense of the Symptoms
How to Make a Diagnosis
Diagnosing a plantar wart(s) has become relatively easy with the help of the internet. Images are plentiful and written descriptions are numerous. Expert and professional advice are also available along with the necessary steps to follow in treating plantar warts:
Step #1: Identifying a Plantar Wart
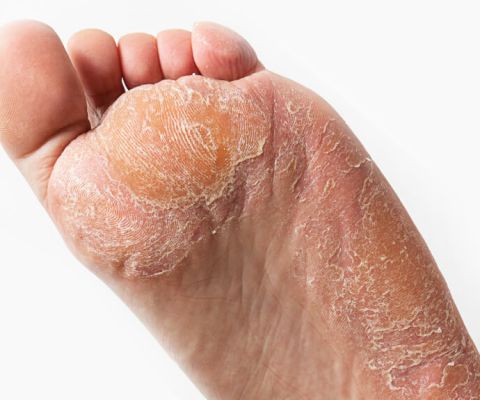
Plantar warts appear as small growths, lesions or calluses usually on the weight-bearing areas of your feet, base of the toes or heels. Any callus that has formed will feel thick as the skin hardens over the point where the wart has grown inward.
Black pinpoints also known as wart seeds will be visible to the naked eye. These are actually small blood vessels which have been clotted.
Plantar warts may also appear as a lesion that obstructs the normal ridges and lines on the skin covering the foot.
Symptoms may also include pain or sensitive areas on the bottom of the foot when pressure is applied either by standing, running or walking.
Step #2: When to Seek Medical Advice and Professional Treatment
Most plantar warts disappear eventually though it may take up to two years. They are not considered a serious threat to one’s health unless they start bleeding, become terribly painful or noticeable changes in appearance occur.
In the event you’ve treated your plantar wart to the point where the wart persists, multiplies or regrows.
You’ve not been able to accurately identify the source of the callus. Foot problems such as bunions and foot imbalance may cause calluses as well as HPV.
Chronic pain during activities, diabetes, and numbness in the feet are all reasons to seek medical advice.
A weakened immune system can be a side effect of certain drugs or disorders related to the immune system creating an opportunity for viral infection.
Plantar Warts: Natural Remedies and Treatments
Before Running to the Doctor, Consider One of These Tried and True Solutions
Natural solutions are effective, low cost and plenteous out there, all you have to do is find and try them. Here are a few steps you may want to try and might even be in possession of the required items called for:
Step #1: The Duct Tape Method
I know you might be shocked or even laughing out loud, but duct tape is very effective in exterminating plantar warts. Start a routine of soaking your feet in a tub filled with warm water. Keep your feet submerged for 10 minutes, then pat thoroughly dry.
Cut a piece of duct tape that will be slightly larger than the overall size of the wart.
Apply duct tape to the wart. Remove after 1 to 2 days.
Repeat the soaking process each time you remove the duct tape.
Always allow the skin to totally dry and expose to sunlight when possible. When completely dry, apply a new piece of duct tape to the area.
Repeat this process for up to two months, or until plantar wart has disappeared.
Step #2: Apple Cider Vinegar Foot Soak
Apple cider vinegar works well in removing plantar warts because of the acetic acid which helps in the abnormal growth of skin tissue.
Apple cider vinegar also possesses antiviral properties, which means it can prevent viruses from entering the skin.
Mix together equal amounts raw, unfiltered apple cider vinegar and water. Apply solution using a cotton ball to the affected area and cover with duct tape. Repeat every two days until the plantar wart is completely healed.
Drinking 2 teaspoons of raw, unfiltered apple cider vinegar mixed in a glass of water will help destroy viruses from within the body. Make this part of your daily routine.
Step #3: Banana Peel
The powerful enzymes in a banana peel will help soften a plantar wart. When the war is adequately softened, simply scrub it off using a pumice stone.
Tape a piece of banana peel over the wart. Leave on overnight removing in the morning and proceed to soak the foot in warm water for 10 minutes. Scrub the area gently using a pumice stone. Wash the foot with soap and pat dry. Do this every day until the wart disappears. Note: Scraping the inside of a banana peel will result in a substance that can easily be applied and rubbed into the wart and surrounding area instead of actually cutting a section of the peel off.
Step #4: Garlic
The wonderful garlic clove-is there no end to the benefits? The anti-inflammatory and antiviral properties of garlic will help in healing plantar warts. The caustic effect of garlic will hamper the wart’s ability to breed which causes blistering. They gradually fall off as a result.
Apply crushed garlic to the wart and affected area and leave wrapped overnight using tape or an ace bandage. Remove the bandage 24 hours later and clean the foot with water. Pat until dry and apply moisturizer. Repeat daily until the wart disappears.
Adding garlic to your diet will boost your immunity making it more difficult for plantar warts to start.
Step #5: Tea Tree Oil
Tea tree oil contains antiseptic and antiviral properties making it greatly effective against the HPV.
Add 5-6 drops of tea tree oil to 1 tablespoon olive or coconut oil and soak a cotton ball in the solution. Place the oiled cotton ball on the plantar wart and cover with a regular adhesive bandage. After 2 hours, remove the cotton ball and rinse the foot with warm water. Repeat this process 2 times per day for a few weeks. Note: Tea tree oil may cause skin irritation if applied straight from the bottle in its purest form.
Step #6: Castor Oil
The anti-inflammatory and healing properties contained in castor oil comes compliments of the ricinoleic acid which helps speed the healing process while reducing symptoms. Also, the air supply and moisture the virus needs to thrive is cut off.
Soak your cotton ball in pure, cold-pressed castor oil before bed. Use a bandage or tape to keep it in place overnight. Clean the wart and soak your foot in warm water when you first wake up. Use a pumice stone to rub off the dead skin. Repeat daily for a week or less.
Mix equal amounts of castor oil and baking soda until paste forms. Apply the paste to the wart and cover with a bandage. Leave the dressing on overnight. Repeat this process daily up to one week.
Recommendations:
Plantar warts are a common malady and can happen to anyone. However, people with weak immune systems, children, and folks who have a propensity to develop warts are most likely to contract the virus known as HPV, human papillomavirus. This virus lives and thrives in warm, moist environments like swimming pools, beach restrooms, gym showers and locker room floors. Children are big targets when to comes to contracting and exposing others to the HPV. Transmission may occur indirectly. For example, a child with a palmer wart on the hand may touch an object at school or playground that is then handled by another child. This is how the wart spreads, and it’s as simple as that. A person with a plantar wart showers in a gym without wearing shower shoes. Immediately afterward, another person enters, showers, and develops a wart. Though this method of transmission is small, it still happens and the evidence is that small, freckled bump known as the wart or verruca. Commit yourself to doing the research if you suspect you have a plantar wart. There are plenty of pictures and solutions online but make certain your diagnosis is correct before engaging in treating yourself. Remember there’s one thing all the above remedies have in common-they all need time, repetition and attention to detail to produce optimum results.
The Next Level of Wart Removal
You’ve Tried Everything-Now, It’s Time for More Drastic Measures
Obviously, there wouldn’t be devices and technology designed for wart removal if people didn’t need them. Unfortunately, home remedies just don’t work for everybody. If you or someone you know has reached the point where you’re ready to investigate the next level of options. The following steps and treatments will help you make your decision on what to do next:
Step #1: Electronic Devices Suitable for Home Use
The “Wartabater” is an electronic device powered by batteries. It is designed to kill warts and remove skin tags permanently after a single 3-minute treatment. Switching on the unit will send a low energy, high-frequency electrical signal through the probe which you apply to the center of the wart. The application of the electrical signal disrupts the structural integrity of the cell, killing it. Healthy, new skin will naturally grow, replacing the dead wart. The manufacturer’s claims are as follows:
o Process will not leave a scar.
o The wart will not return.
o Wart removal area will not appear unsightly.
o Is safe, successful and permanent.
o More effective than home remedies.
o Works on all types of warts, including plantar warts, flat warts, periungual warts (clusters of warts that grow around the finger or toenail, and appear as thick, cauliflower-like skin around the nail plate containing fissures. Periungual warts may cause the loss of the cuticle and cause swollen, pus-filled blisters called paronychia. Nail biting increases a person’s susceptibility to these periungual warts).
o Made in the USA and manufactured by a company that’s been around for 17 years.
Step #2: Electrocoagulation
Also known as electrodesiccation, is a procedure using a round instrument, (curette), from 1mm to 6mm in size. The doctor, often a podiatrist, will then scrape off the wart down to the dermis. At this point, electrodesiccation is performed using a hyfrecator (a low-powered, high frequency, high voltage medical device conducting AC electrical pulses by means of an electrode which is mounted on the handpiece.)
o There is no hospitalization necessary as the patient remains conscious during the office visit.
o The hyfrecator method for plantar wart removal will destroy the infected tissue on contact and stop bleeding during minor surgeries by discharging a continuous electrical spark.
o The amount of power discharged is adjustable and the technique may be adjusted via the implementation of various tips, electrodes and forceps depending on the specific procedure to be done.
o The method of hyfrecation is unique in the way that a dispersive electrode pad, (ground), which is usually attached to the patient is not necessary.
o As a surgical ulcer is created and is larger than the original tumor, healing time may be delayed and subsequent scarring obvious.
o Note: This type of invasive procedure may leave a surgical ulcer larger than the wart being removed. Healing time could take longer and scarring may occur.
Recommendations:
It’s always a good idea to have a heart to heart talk with your doctor regarding any surgical procedure. Success rate, healing time, post-op pain and aftercare are important topics to discuss along with any other concerns you may have. If you’re thinking about buying a device online and administering any type of electronic current to your body, call the company directly and express your desire to use the product correctly. It is always a good idea to research the product for any negative side-effects that may have been posted online.

Which Over the Counter Products Work Best for Removing Warts?
Walking Up and Down the Wart Removal Aisle
All it takes is one encounter with plantar warts and instantly you find yourself trying to recall every wart removal commercial you’ve ever seen on TV. Fortunately, we live in the time where we simply type and enter our concerns into the nearest search engine and suddenly, countless products appear, each beckoning for our attention. But how can you possibly decide which one will work best for you? Without a track record, you’re entering into unchartered territory barraged with an endless assortment of acids, chemicals, and liquids. In an effort to help you navigate the vast array of products, follow the steps listed below:
Step #1: What “exactly” is the Problem?
Be absolutely sure that you have a plantar wart. There are other foot conditions which may take on the appearance, form calluses or hurt when pressure is applied. Such conditions may arise from the metatarsal heads being out of alignment, tumors and embedded foreign objects.
A good way to rule out plantar warts is by looking for the blood vessels which appear as small dots towards the surface or, having an x-ray taken of your foot which will reveal any bone problems or embedded material to be addressed.
Step #2: It’s Definitely a Wart
Now that you’re sure of your diagnosis let’s take a look at the available options for plantar wart removal:
o Application of salicylic acid. Warts on the hands, feet or knees can be treated with Compound W. For best results, apply the acid daily for may be many weeks. Following a bath or shower, pat the skin dry lightly with a towel. Apply the salicylic acid to the damp skin covering warts for best results. The acid will absorb into the skin much better than when it’s applied to dry skin. The following day, before showering or taking a bath, use a pumice stone or emery board to reduce the surface of the dying wart(s).
o When searching for wart removal medication to apply at home, you’re bound to come across the word “molluscum” also known as water warts. Molluscum contagiosum is another variation of a viral skin infection resulting in benign, raised lesions or bumps on the surface of the skin. Applying cantharidin is a product your doctor may choose to apply to the wart but is also available to order online. With this treatment, you or the doctor “paints” the chemical onto the wart(s). The procedure is painless for most people but occasionally there is some pain between 3 to 8 hours later as there will be blistering as the chemical works to eradicate the wart. After undergoing treatment with cantharidin, a bandage is placed over the wart which is removed after 24 hours. If the wart still remains following the first treatment, you may need to repeat the procedure.
o Bazuka extra strength gel claims to soften the skin growth while breaking down and removing verruca’s, corns, warts, and calluses in conjunction with a pumice stone or emery board. Bazuka extra strength gel also claims to kill the virus within the wart or verruca.
o Dr. Scholl’s Freeze Away Dual Action Wart Remover claims to remove warts in one treatment if they are under 5mm. It works by rapidly freezing the wart tissue which breaks down the wart. The body will then proceed to heal replacing the dead wart tissue with new cells. The liquid contains salicylic acid to kill the wart tissue while softening it. The outer layer of the skin is prompted to become loose and fall off.
Recommendations:
There are indeed countless options when it comes to plantar wart removing products. The good news is, with a few clicks of the mouse you can find the products most successful for the general public. Check the reviews and ratings carefully and always check for guarantees and return policies. Do not hesitate for a moment in consulting a podiatrist or your family doctor when after trying a treatment, your wart still remains. The virus responsible for plantar warts is highly contagious and could become very painful-waiting for the wart to go away by itself is probable but, it could take up to two years.
We’ve learned how to identify plantar warts, how they spread and how to treat them. We’ve explored home remedies, over-the-counter meds and the medical profession’s approach to eradicating them. One more area in beating this oppressive contagion is taking a good look at prevention. A simple task such as hand washing could make a world of difference to you and your family. Teaching good hygiene and demonstrating thorough and conscientious routines will inevitably make a lasting impression on your friends, co-workers, and kids. One of the reasons viruses are so prevalent is because people just don’t take the time to learn about them. By knowing how a virus works, you become aware of ways to combat it. A perfect example of this is through diet. There are natural herbs and immune system supplements specifically recommended for boosting the body’s ability to ward off these microscopic menaces. Folic acid, Indole-3-Carbinol, I3C (found in broccoli, cabbage, and kale), CoQ10, N-Acetyl Cysteine and vitamin C are highly recommended. Slowly replace processed foods with nutrient-dense foods such as organic vegetables, fresh fruit, beans and legumes, seeds like flax and sunflower, nuts such as almonds, lean meat, roasted poultry, fish with fins and scales, and healthy fats such as coconut and olive oil. When a virus enters the body, it has one agenda: to attack and take over your cells. This blog was written so you can fight back!