


3 Ways To Tie-Dye Shoes From Home
 3 Ways To Tie-Dye Shoes From Home www.walkjogrun.net
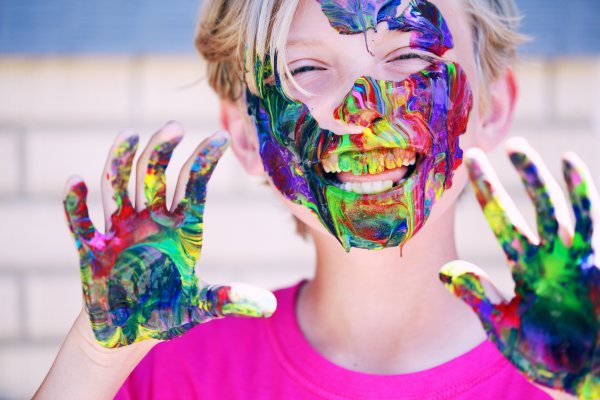
 If you’re looking for some fun in the sun with your little ones, boy are you in luck! I remember years ago tie-dying shirts at summer camp. I’m sure many of you wax romantic about the very same experience. There is nothing more rewarding than instant gratification… and this is especially true with tots. We love our kids dearly, but sometimes it’s a hassle to get them to just sit still or stay occupied. This fun, summer activity gives you the opportunity to turn that energy into an endless supply of new school shoes, or just a pair for everyday play. No matter how you’re rocking this look it’s sure to catch some serious attention.
Tie-dye is chic, bohemian, and totally in style. It’s not just a good way to spend the day with your family! In fact, a lot of college kids are also turning heads on campus with their radical new kicks. You can use tie-dye as a way to let your deadhead love shine, or as a loud pop of multi-color style to turn heads at every turn. Tie-dye is a cheap way to create a whole new look for yourself just in time for the changing of the seasons. Although it is definitely a summery look, don’t let that stop you from feeling it all through the fall! You can even introduce spooky colors for a Halloween vibe, or red and gold to celebrate the foliage. Heading into the winter months? Use soft blues for a sleek ombre, or red and green to get you into the spirit of the season.
It’s time to stop the small talk, however, and get right into it. I hope you enjoy this little how-to on tie-dying shoes!
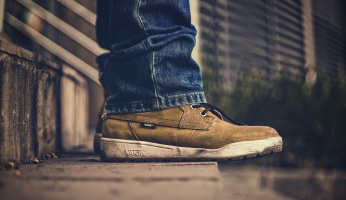
Choosing The Right Shoe

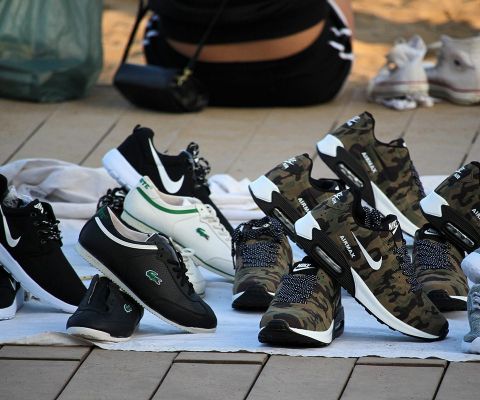
This is an incredibly important part of the process! The shoe you choose is the foundation for your entire look. I think this might actually be the hardest part of the entire ordeal, quite frankly. Most of us have brands we’re absolutely faithful to, and most of those brands have a very specific cut. Check out the stark contrast between a pair of white Keds, for example, versus a white pair of Converse. Looking at them in this light really highlights the stylistic differences between each brand.
My biggest piece of advice to you is to stay simple. Running shoes, for example, probably won’t look great with a tye dye flair. You may be able to pull it off, so don’t let me stop you! I’m not here to tell you how to live your life. I really don’t suggest it, however. Try for more casual cuts (again, Converse or Keds are great for this purpose!). You can also find some pretty big bargains at your local thrift store or Goodwill. Wal-Mart is another fantastic option for finding fashion on the fly. Wherever you go, just remember that it’s the fun that counts! Don’t stress too much. But definitely, stress just a little. Y’know what? Stress just enough. The perfect medium of stress, if you will.
You can use all sorts of shoes, however. Sneakers aren’t your only option! Heels are another popular choice, as are flats. If it has a dye-friendly material on the upper, you can dye it!
So, you have your shoes. Now what? Obviously, you can’t tie-dye in your house… unless you are a far braver soul than I. The garage is a great option, and so is your back or front yard. Hell, even the parking lot could be a good option if you live in an apartment! While you technically could find the space indoors to do the dirty work, you’re probably looking at some serious staining. Keep in mind that these are highly potent dyes that are meant to stain material, and keep that material stained. Mixing that with your carpet is a no-no! Even tile may feel the colorful wrath of ink who’s only purpose is to leave a mark, so it’s best to head into the great outdoors.
We have some ideas for where and when you should indulge below.
When & Where? Anytime, Anyplace!

- Around The House: Kids home for the summer? Are they driving you bonkers yet? Maybe they aren’t home for the summer, however. Maybe they’re too young for school (hang in there, mama). In this case, it’s time to spend as much time having fun with your little one as possible. This is a great way to let them show off their creative side while teaching them all about colors and a little about science.
- Homeschooling: As I said above, you can easily turn this into a science and art lesson! For those of you who homeschool it might be a good idea to teach them about the color wheel, how complementary colors work, and how to pair colors.
- Camping: Oooh, you betcha! Yes, I definitely recommend it for summer fun by the campfire… although, maybe not too close, especially if you’ve been indulging in *ahem* adult beverages. Tie-dye is super fun and can keep a gaggle of giggly children occupied for an hour or more. It’s also great for adults looking for a keepsake for their trip. There is also the promise of being able to wear their new shoes the next day! Just make sure to opt for non-toxic options.
- Birthdays: Is somebody’s special day coming up? Instead of handing out party favors, have the guests make their own! It’s a fun activity that will make a mark on every attendee.
- Weddings: This may sound strange, but it’s a great idea for party favors! Try black and white tie-dye for an effortless, classy twist on the classic. This will give you a more “marbled” pattern. Have a seasonal wedding? For winter, try shades of icy blues and soft greys. Fall is a great time for earthy tones, such as burgundy, heather gray, burnt sienna, and more. Themed wedding? Halloween lovers can choose black and orange for theirs! Seriously, the possibilities are endless.
- Family Reunions: You just can’t beat family photos with matching shirts. Sure, we all dread this horrible fate, but life will lead us here at some point. Might as well embrace it. Also, it’ll make Grandpa happy, so you might as well. But, what if you could make Grandma even happier? Turns out you can. “But how!?” You ask, waiting with baited breath. Well, the answer is simple: matching shoes. I’m telling you right now that this is a much better idea, the shoes can be worn other times, and everybody will have a blast designing their own pair.
There are so many different ways to play with this fun, family-friendly activity. No matter your age, gender, or clothing preferences, this is a great way to add a personal touch to your wardrobe. Remember, these are only some of the ideas I have laid out. There are so many more that we’ve yet to list! If you can dream it up, you can dye it up!
Now that you have the shoes and an idea of where you’re doing the deed, it’s time to figure out how, exactly, to go about it. I have three methods for you today that I think you’re going to love! Each one has its own pros and cons, and when it comes down to it there’s no one that’s better than the others. Your own personal taste will determine which one you end up choosing in the end.
The Permanent Market Method
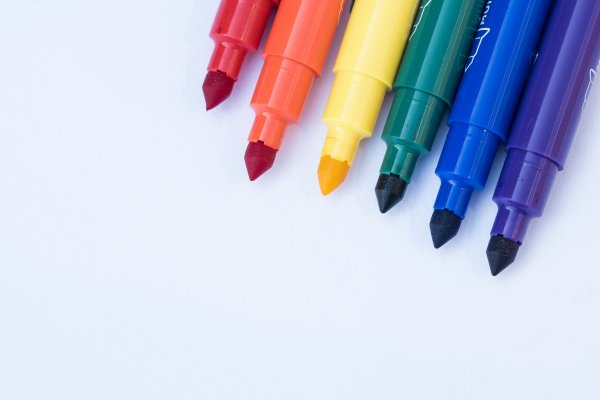
I’ll kick off the list with one of my favorites for kids! It’s very minimal mess (no liquid dye) and parents can keep a close eye on their children while it’s happening. It also allows your kiddos to draw their own designs on, which will keep them busy for a while. Honestly, with $20 at Goodwill and another $10 at Walmart, you could easily keep them busy for quite a while. Let’s break it down into steps! First, I’ll tell you what you need.
What You Need:
- Rubbing Alcohol
- Permanent Markers
- Painter’s Tape
Yup, that’s really all you need! How simple is that? Now you know what I mean when I say it’s the best route for families with young children to go. It’s just as easy to do, as well. Read below to find out how! And, of course, I would never leave you hanging. I scoured the internet for the best products and the best deals so you can have a one-stop shopping experience. Check ’em out:
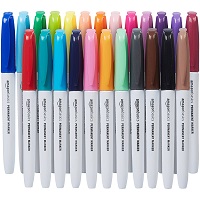
- AmazonBasics Permanent Markers
- Price: See Here

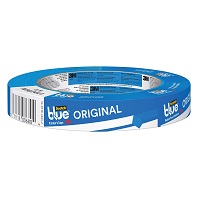
- ScotchBlue Painter's Tape
- Price: See Here
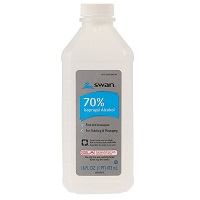
- Swan Rubbing Alcohol
- Price: See Here
Protect Those Soles: You don’t want to end up with stained soles (I mean, unless you do, then, by all means, skip this step). So, in order to keep them pristine and add a pop of contrast to the look, tape them off! You’ll need painter’s tape for this in order to give secure, lasting protection during the whole process. Try to get it as close cut as you can to the edge of the shoe without covering any of the canvas material of the upper.
Get Creative: Now it’s time for the fun part! You’re going to design your shoes however you’d like. Take note that the colors will be bleeding outwards, however, so you want to go for abstract rather than concrete drawings. You can do swirls, starbursts, polka dots, or even color in large sections with complementary colors. Hell, if you’re feeling up to it try making yourself an ombre! I’ll have articles in the future that will get into the specifics of each design, but for now, I’ll leave the creativity up to you.
Tie-Dye Time: The final step is, of course, making them look like they’re tie-dyed! This isn’t a traditional method, so you aren’t really “tie-dying” them. However, it’s an easier, less messy method which can save parents a lot of headaches. It’s one of the only types that can be done anywhere- even in a crowded dorm room!
So, here’s what you’re going to do. You’re going to drip small droplets of rubbing alcohol onto the designs so that the color bleeds. I suggest using a straw (keep your finger over one end to have control over the flow of liquid), or an eye dropper. You can also get a small pipette from Amazon on the cheap!
This is why you want to be aware that the designs will not look the same after you finish this step. If you color large sections in complementary colors, you can easily make gorgeous, tie-dye stripes. Use red, orange, and a little yellow on the toe cap to get a beautiful, sunset-inspired ombre look. The possibilities are endless, and totally up to you.
The Dip-Die Method

This is a wonkier one that can go one of two ways: great, or… not so great. I definitely recommend this to people who have had some tie-dying experience in the past, or who aren’t afraid to get a little messy. You probably already know what’s going down, so let’s jump right to that sweet, sweet content.
What You Need:
- Vaseline (Or painter’s tape)
- Dye mixture
- Bucket
- Washcloth
Pretty simple, right? If this is looking like something up your alley, here are some products I personally recommend to get the job done.
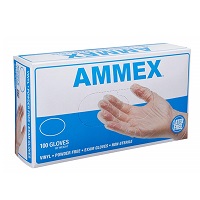
- Ammex Plastic Gloves
- Price: See Here
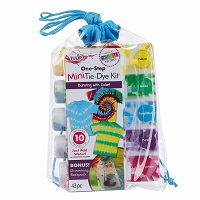
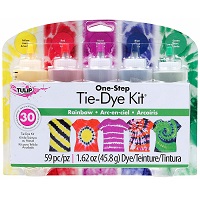
- Tulip One-Step Dye
- Price: See Here
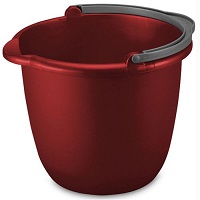
- Sterilite Spout Pail
- Price: See Here
We Heart Soles: And so should you. Again, it is imperative that you protect the sole against unwanted coloration. Tie-dye never looks good on the rubber material that most soles are made of. So, use some Vaseline to completely cover the sole of the shoe, as well as any other parts you don’t want died, like the toe cap. Also, be sure to de-lace your shoes for this method, unless you want them dyed, too.
Pick Your Poison: Now it’s time to decide the color scheme you’re going for. You need to figure this out before you make the mixture you’ll be dipping the shoe in. That’s super important. This is no time for guesswork, people! Real serious business, this tie dying stuff. I suggest, again, complimentary colors. Ombres and pastels are especially “in” right now, and with Fall around the corner, you can easily go with earth tones for a soft finish.
Ready Your Mixture: Once you’ve picked a dye kit, it’s time to mix it up. Fill a bucket, preferably clear, with hot water and a little bit of salt. You’ll then add your dye of choice. There are two ways to go about this. You can either use one color, and go for an “ombre” look, or you can mix up the dye in traditional tie-dye fashion.
Take The Dive: The traditional option is pretty cut and dry. Make the swirlies, dip the shoe in, and presto! However, for a less intricate method, there is, strangely enough, more to it. You’re going to want to dip your shoe in about two inches, let it get soaked, and pull it out. Let it drip off a little, and then dunk it back in a little deeper. This will give you a soft, lovely ombre effect. From there you’re going to use a cloth, or the toothbrush, to pat the color upwards. This will soften it out, and let you give it a slightly less drastic finish.
The Waterless Method
Although this seems like it would be less messy, it can actually end up being the messiest. I do not recommend this one for families unless your kiddos are old enough (ten and above, preferably). In this method, you’re not going to use water. Instead, you’ll pour the dye right onto the shoe using the little bottles the dye comes in.
What You Need:
- Painter’s Tape
- A Washcloth
- Dye
- Plastic gloves
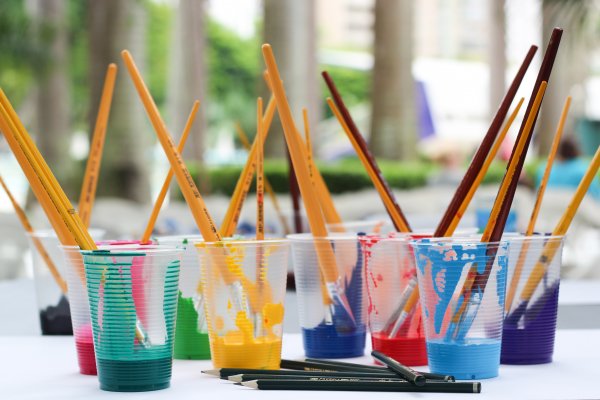
- Paintbrushes (optional)
The following products are what I found to work best! Of course, you might find some others you like better. I figure it’s best to start you off on the right foot, however, and give you an idea of what you should look for. Remember that for the paintbrushes, if you choose to go that route, you want a big, flat headed brush.
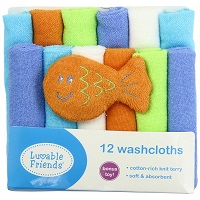
- Luvable Friends Washcloths
- Price: See Here
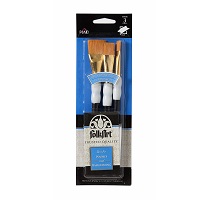
- FolkArt Wash Brushes
- Price: See Here
- Tulip Bottle Dye Kit
- Price: See Here
Cover Your Soles: Okay, okay. I get it. You’ve had enough of this endless repetition and redundancy. I won’t go over it again. Just do it.
Eyeball Your Look: There’s really no way to get technical with this project. You’re going to eyeball the design you want and go from there. I suggest, again, a simple ombre. You can also do super cool, blended stripes, however, or patches all around. You can also use the rubbing alcohol trick to further blend the colors. You’ll pour the die right onto the shoe accordingly! I recommend that small children use paint brushes to do this, if at all possible. You’ll also want to use plastic gloves to make sure your skin isn’t going to match your shoes!
Once you’ve got your shoes dyed to perfection, it’s time to let that dye dry! In order to do this, you’re going to lay them out. I suggest using a plastic tablecloth or putting them in a plastic bag. You can then either keep them in the garage or on the back porch… wherever you have space! If you’re confident they won’t get knocked over by pets or kids you can even keep them inside. Let them dry for 24hrs, and then you can rock your new kicks all over town.
I hope you enjoyed reading about my favorite ways to tie-dye shoes! I’ll have plenty more where this came from, so stay tuned for more crafty fun for the whole family. In the meantime, we have a few guides you should check out. If you’re feeling a little lazy (it’s that dang summer sun!), maybe you should look into buying tie-dye shoes instead. We have this great guide on the best styles currently out there! Check it out and see if you find anything you like.